
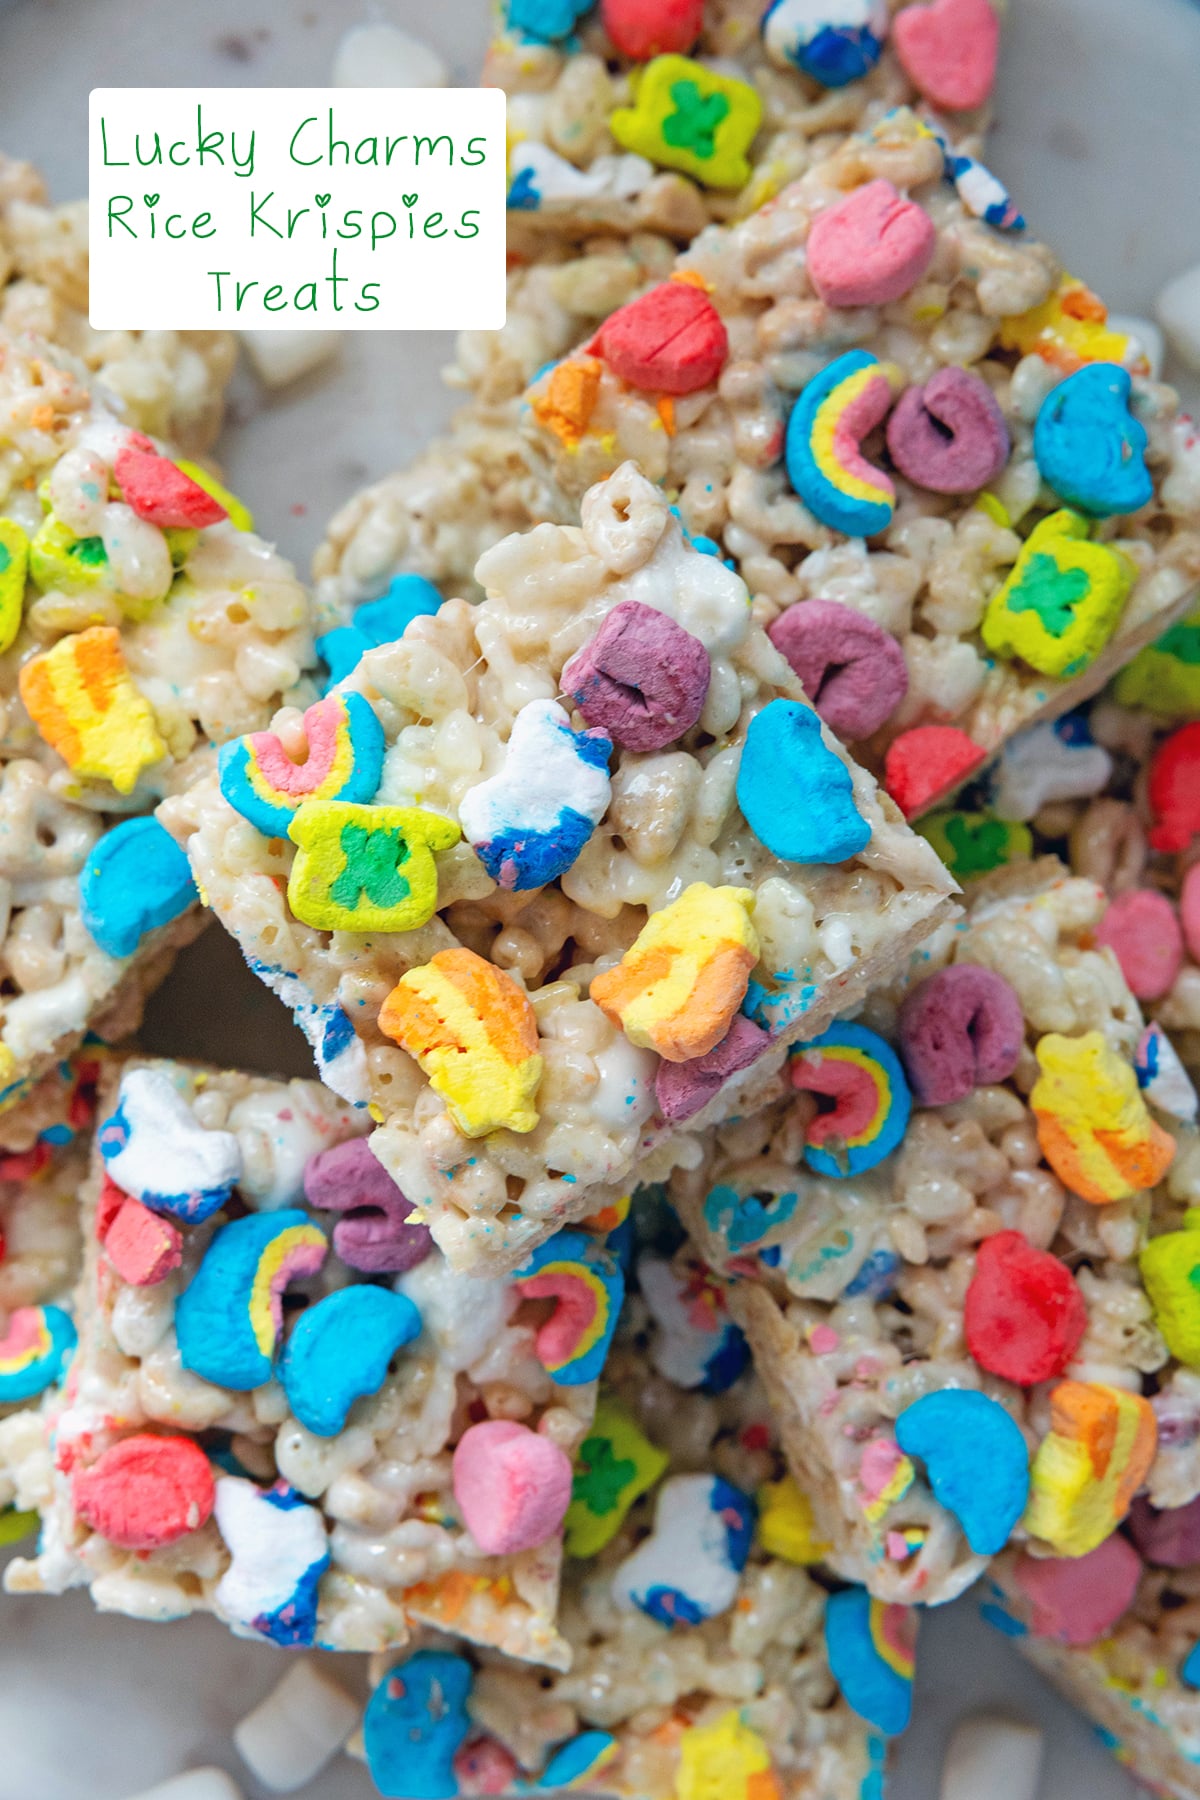
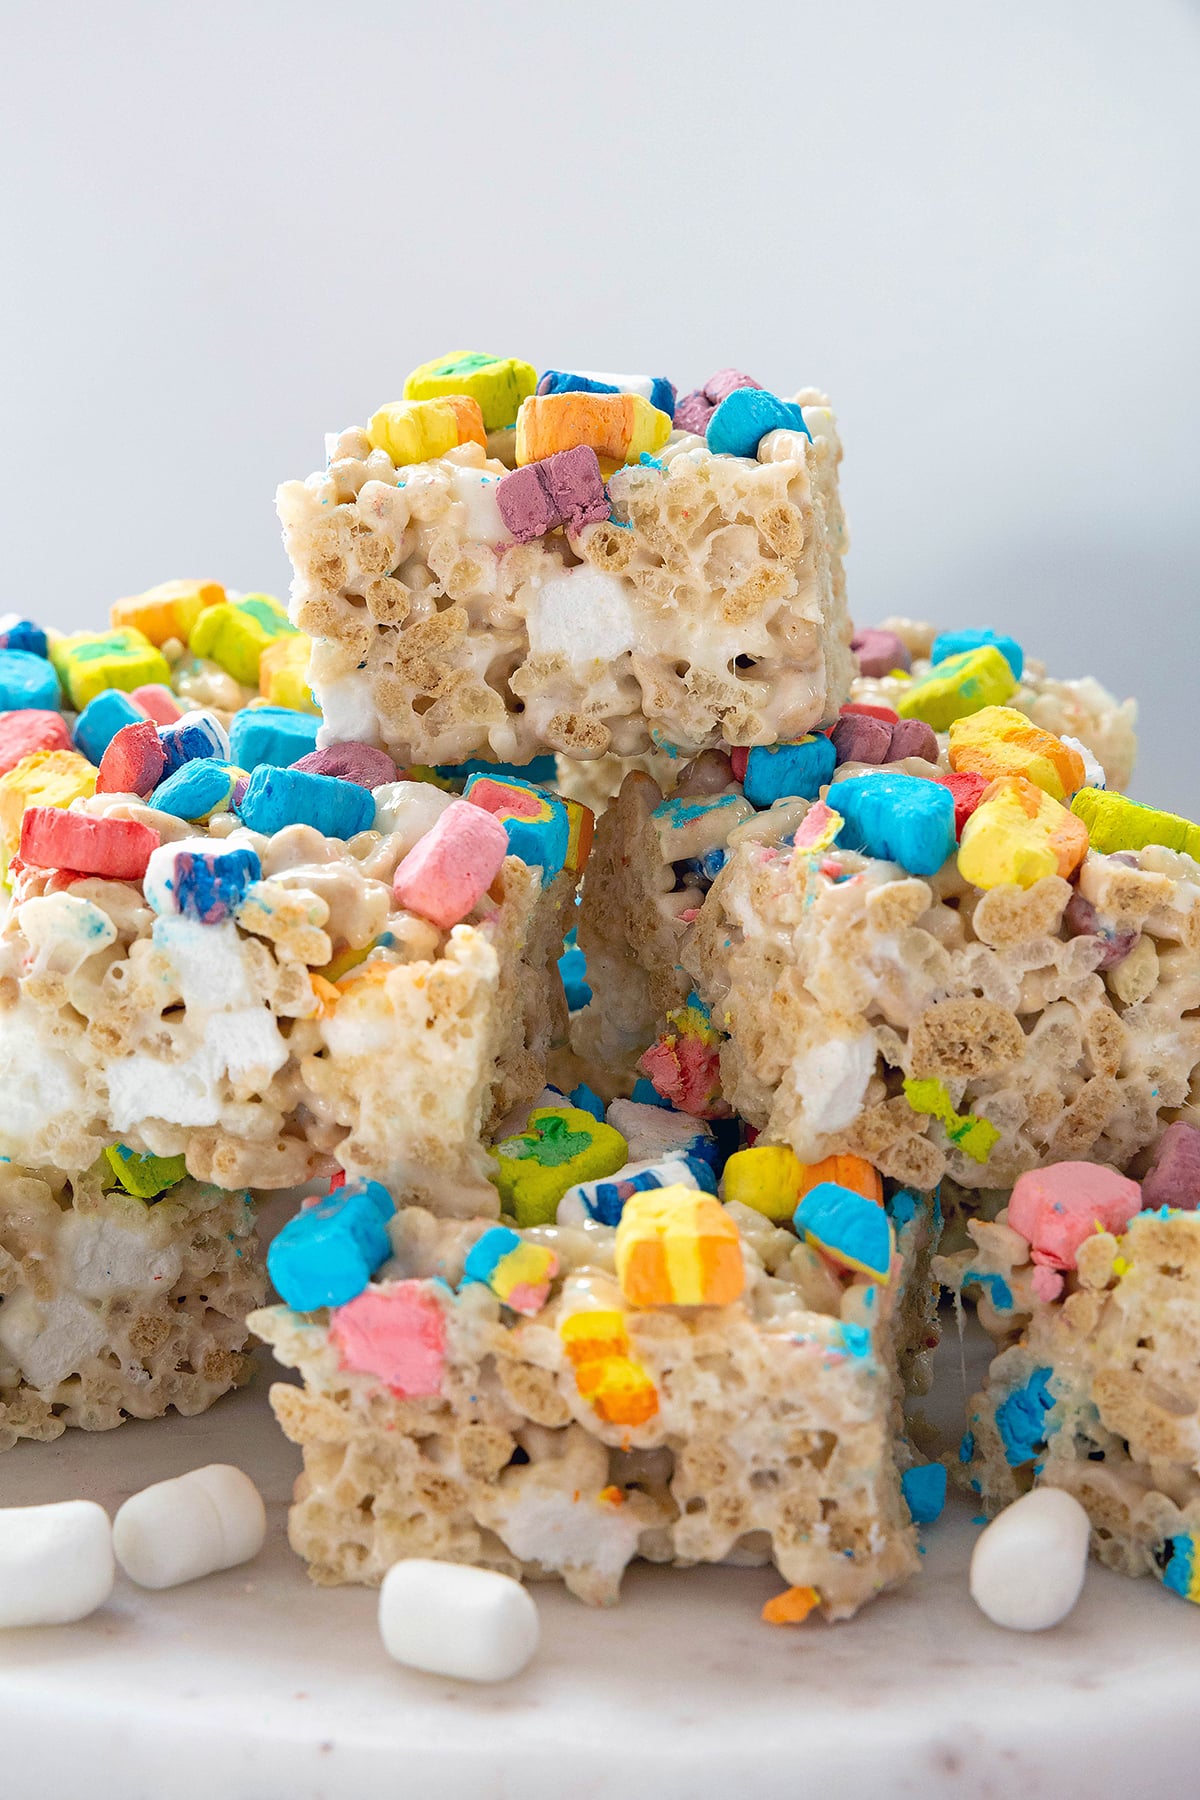
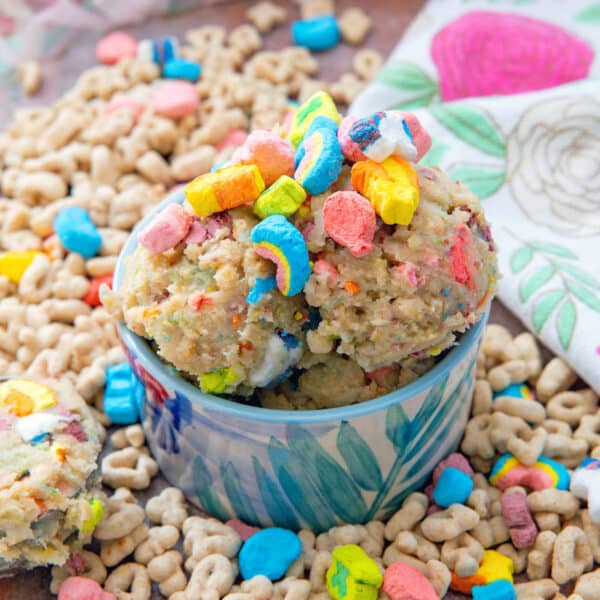
If you love classic Rice Krispies treats, these Lucky Charms Rice Krispies Treats are even more fun! The soft, gooey bars combine crispy cereal, extra marshmallows, and colorful Lucky Charms marshmallows for an easy no-bake dessert that's perfect for St. Patrick's Day or anytime you want a nostalgic treat.
Jump to:
I'm a big fan of baking with cereals of all kinds, but Lucky Charms are definitely my go-to cereal.
They're delicious, they're pretty, and they're so fun for St. Patrick's Day, though there's really no wrong time of year for them.
I add new Lucky Charms recipes to my website all the time and today I'm thrilled to finally be sharing a recipe for Lucky Charms Rice Krispies Treats!
❤️ Why this recipe works
Lucky Charms were basically made for Rice Krispies treats: Rice Krispies treats are all about the marshmallows and Lucky Charms have the most fun marshmallows! These two are a basically a dream come true when combined.
Toasted oats pieces also contribute: but it's not just about the marshmallows. The bars themselves contain Rice Krispies for the signature crispiness you expect Rice Krispies treats to have and the toasted oat pieces from Lucky Charms, which give the bars an extra crunch and a subtle toasted flavor.
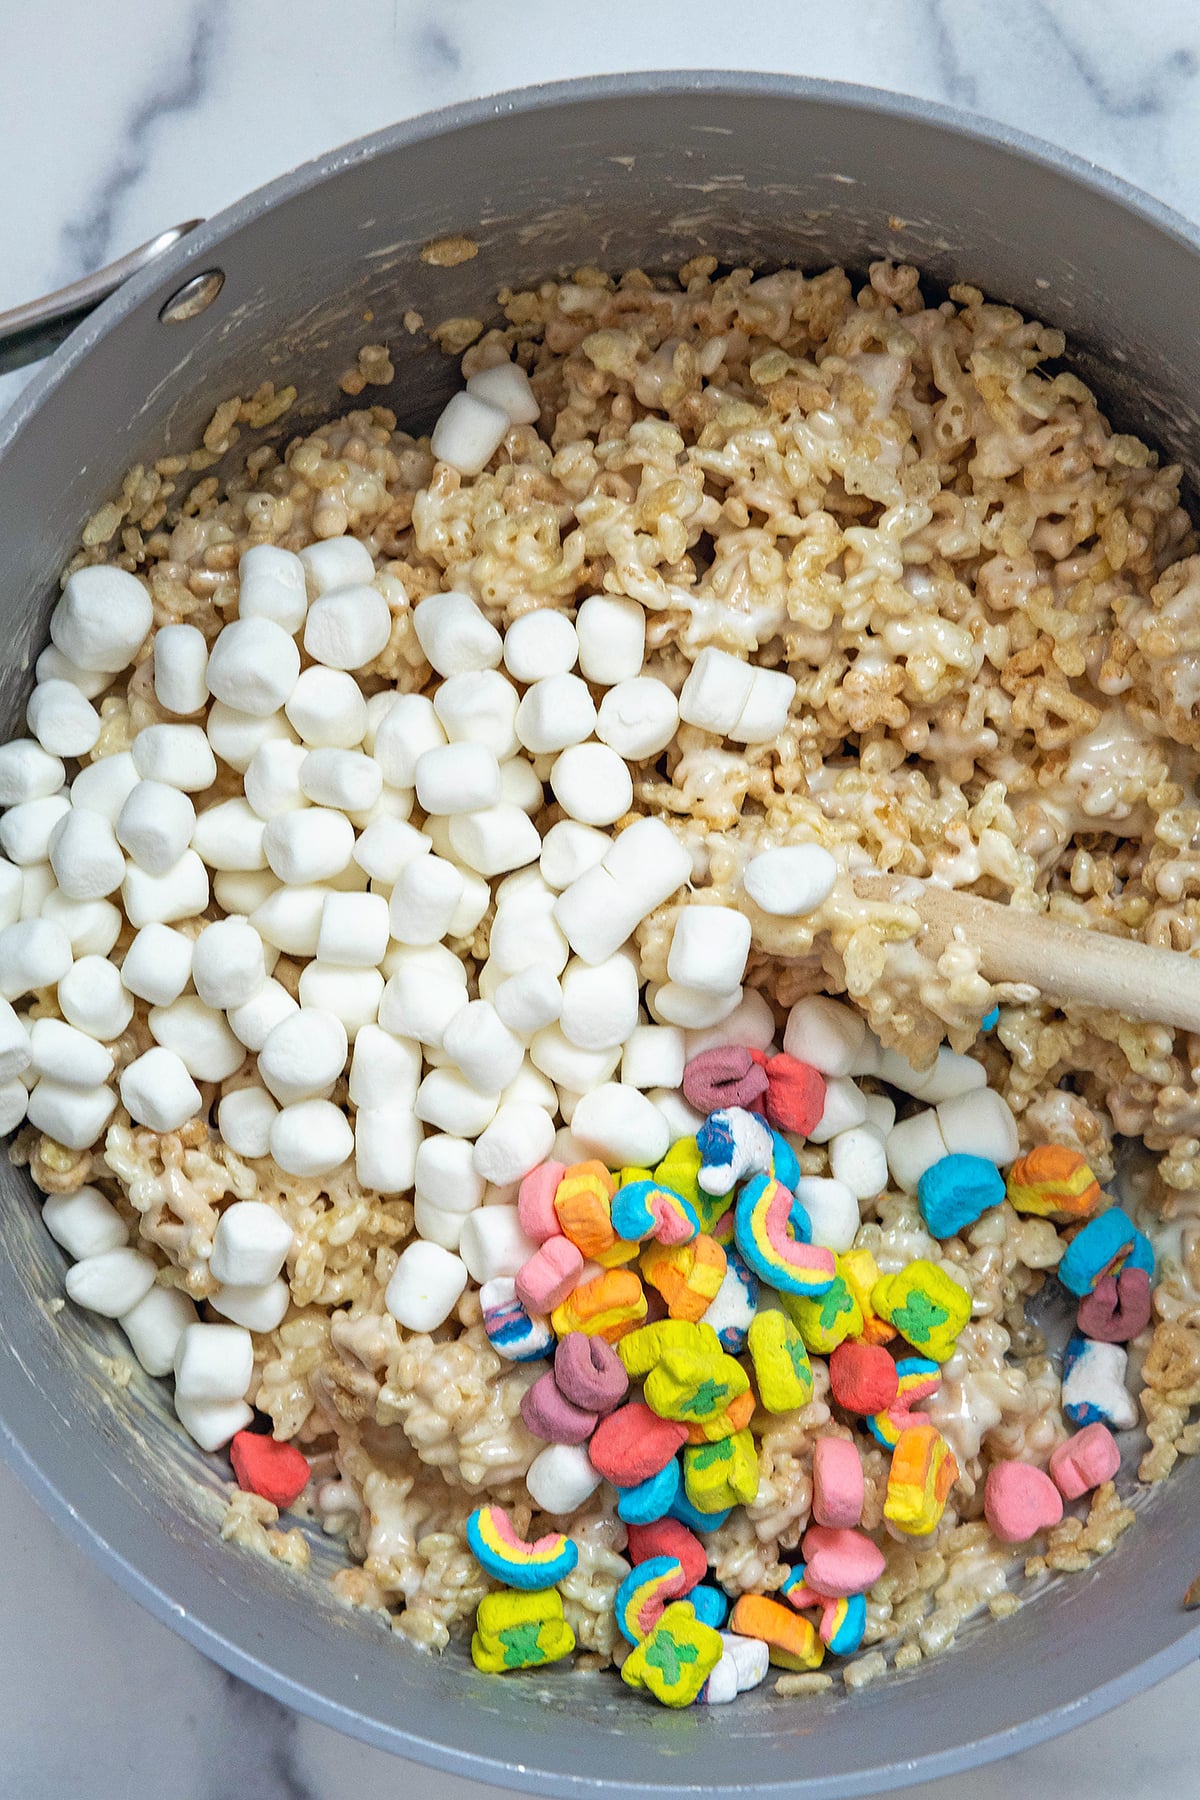
Extra marshmallows added at the end: these treats use a whole bag of mini marshmallows, but I also add an extra cup of mini marshmallows and Lucky Charms marshmallows at the end. This allows pretty pockets of marshmallows and bright pops of Lucky Charms color.
Optional milk powder adds rich cereal flavor: I like adding nonfat dry milk powder to my cereal treats to boost the creamy, nostalgic cereal flavor. You don't have to add this, but I think it makes the bars even more delicious!
Super easy and quick to make: making Rice Krispies treats is incredibly easy and this Lucky Charms version doesn't add much extra work. But it does make extra pretty and fun bars!
🗒 Ingredients
Here's everything you need to make these Lucky Charms Rice Krispies treats (be sure to view the recipe card at the bottom of this post for ingredient amounts and full recipe instructions):
- Unsalted butter
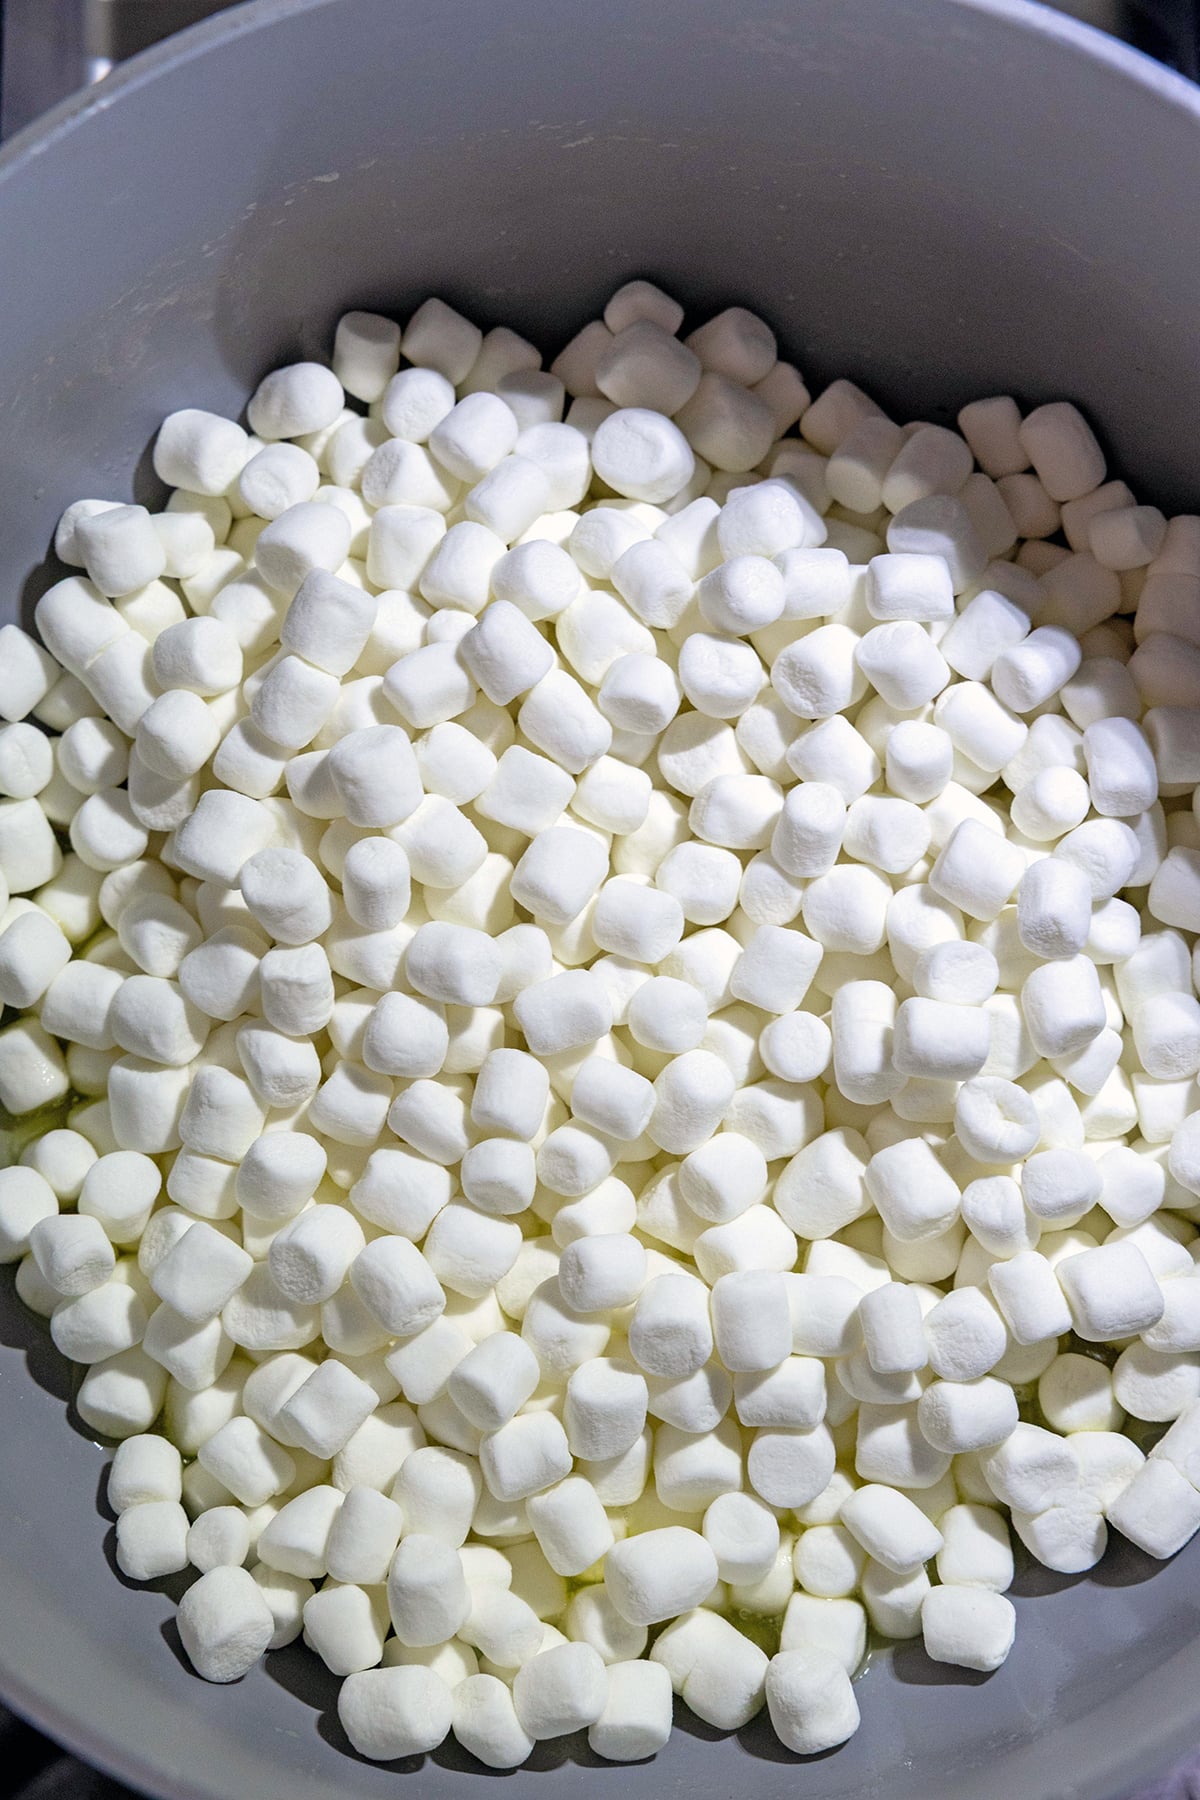
- Mini marshmallows
- Vanilla extract
- Nonfat dry milk powder: optional, but adds even more cereal flavor
- Salt
- Rice Krispies cereal
- Lucky Charms cereal: toasted oat pieces and marshmallows
If you need extra Lucky Charms marshmallows, you can actually purchase a whole bag of them!

🌈 Recipe tips
- I recommend sorting the oat pieces and the marshmallow pieces from the cereal before you start making this recipe. The marshmallows will melt quickly and you want to be totally ready to add the cereal and not stuck digging through the box.
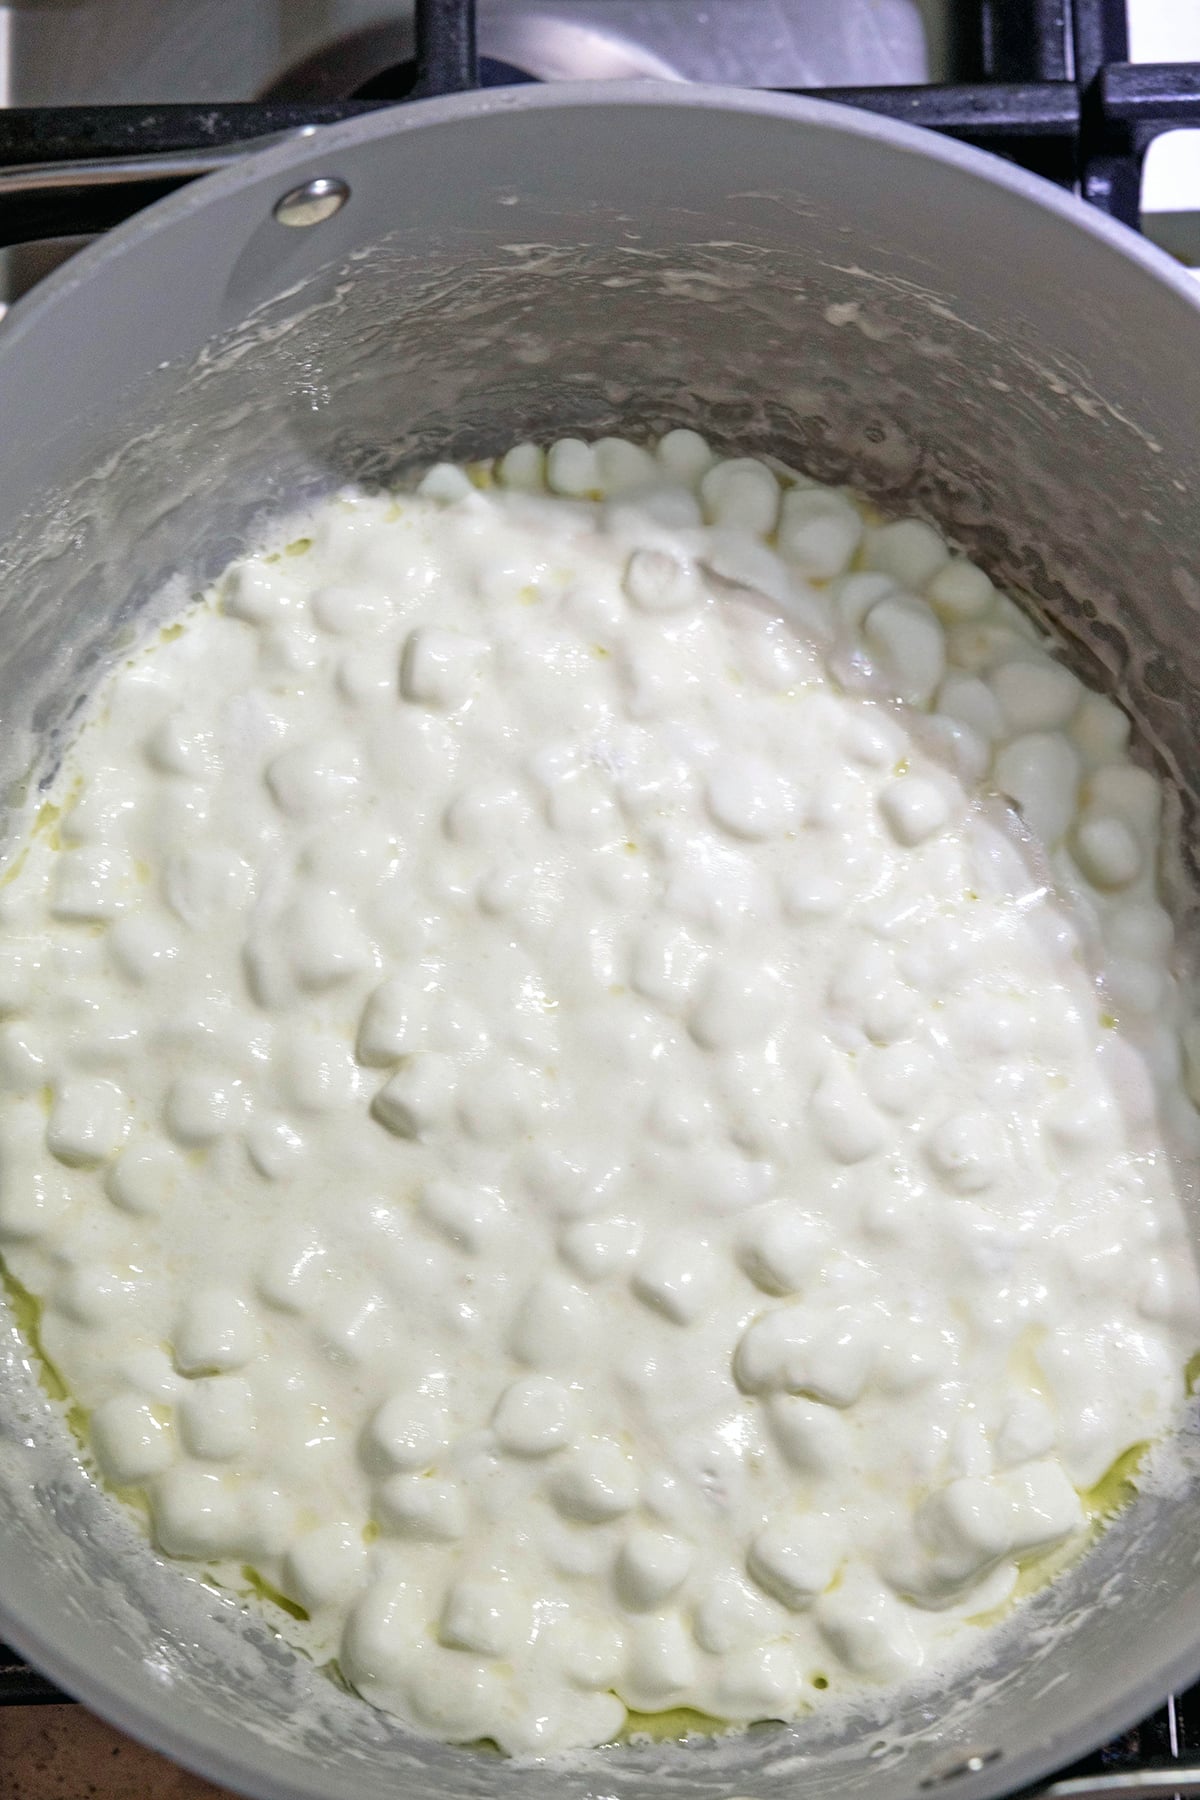
- Melt your marshmallows over low heat. This will help them melt smoothly, while high heat can make the marshmallows tough and result in hard treats.
- Remove the saucepan from the heat before the marshmallows are fully melted. Leaving some small lumps helps prevent them from overcooking and ensures the mixture will stay gooey instead of stiff.
- I like adding a little nonfat milk powder here for a subtly creamy, slightly malty flavor that makes the bars taste richer and more nostalgic without changing the texture.
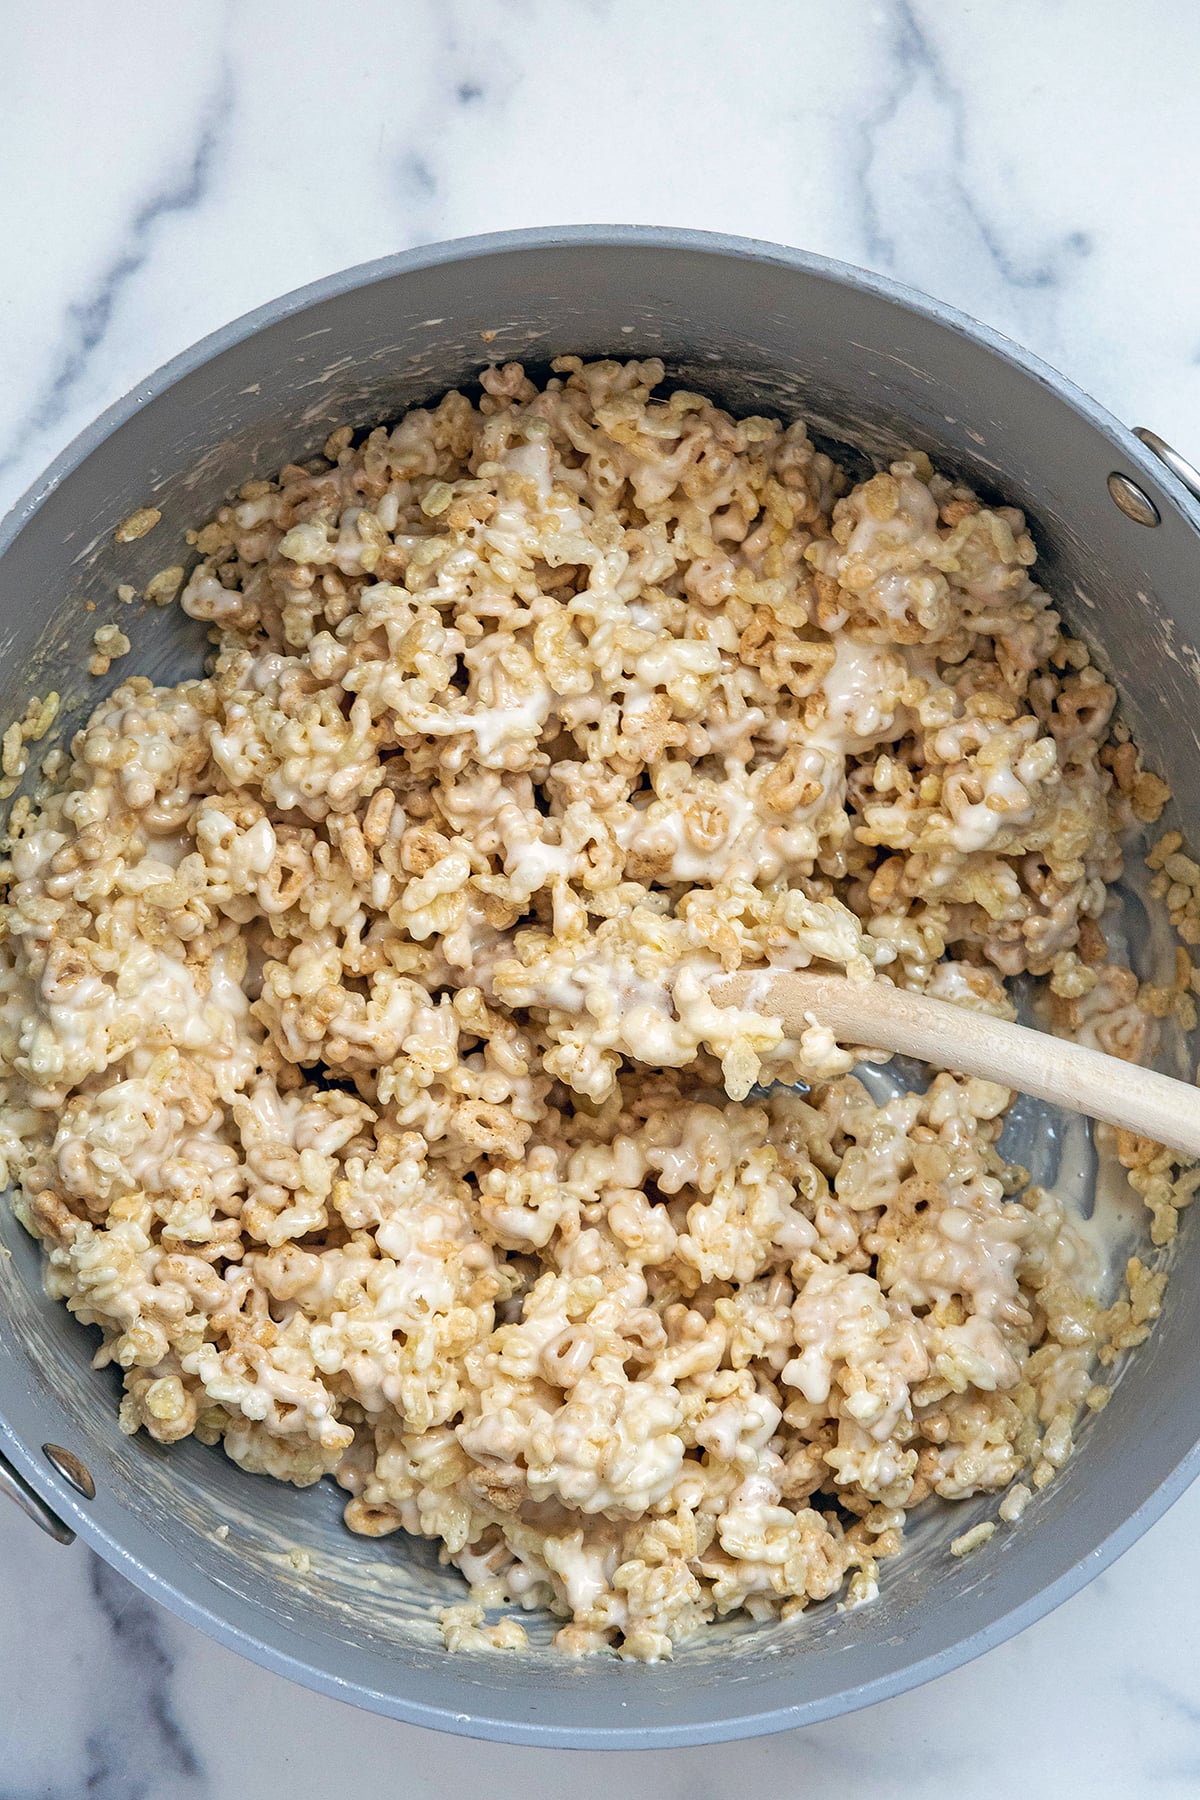
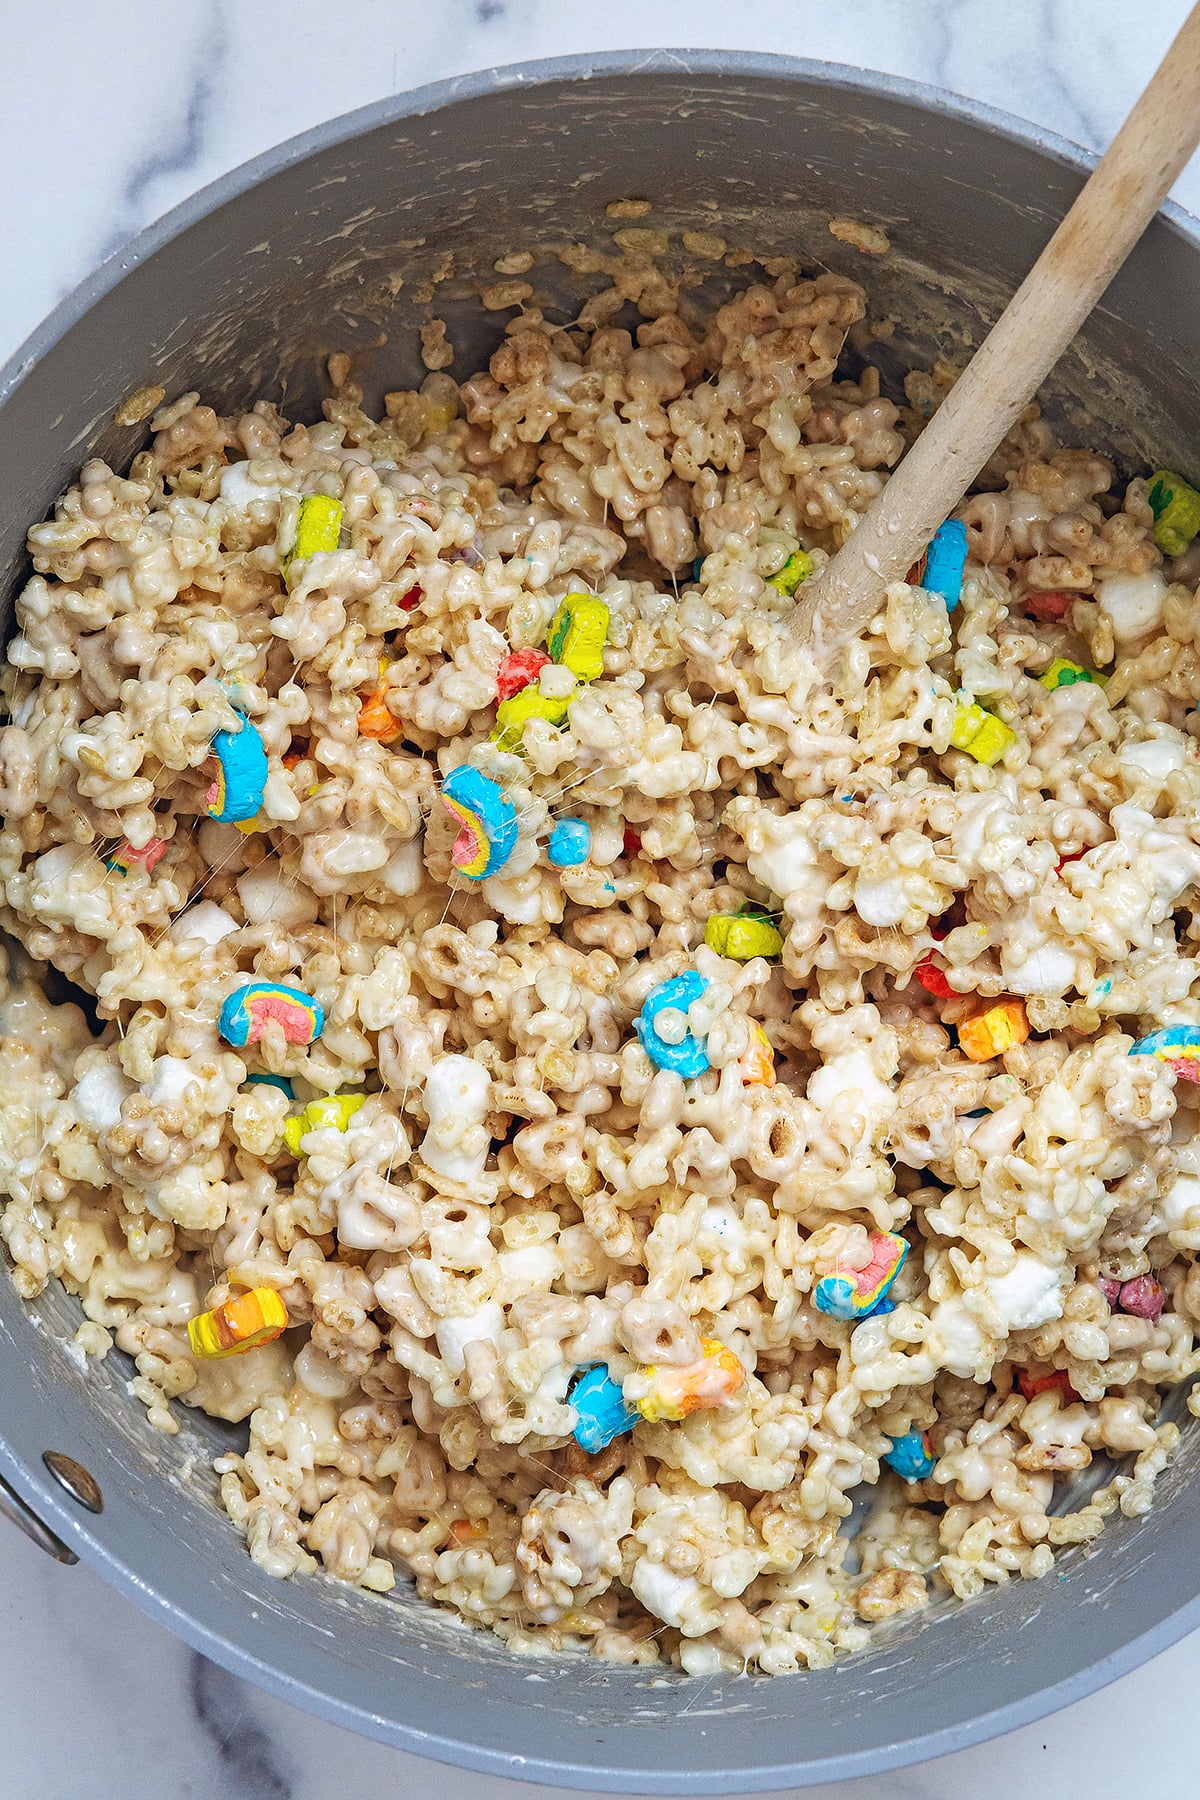
- Be ready to work quickly once you add the Rice Krispies and the Lucky Charms oat pieces. The marshmallow mixture will start to firm up as it cools, so you'll want to fold the cereal in right away and transfer it to the pan fairly quickly.
- Once the mixture is off the heat and you've combined the cereal with the melted marshmallows, add the remaining mini marshmallows and ⅓ cup of the cereal marshmallows. Folding these in at the end keeps them from completely melting and creates soft marshmallow pockets throughout the treats and lets the Lucky Charms marshmallows keep their shape and vivid color.
- I have LOTS of experience baking with Lucky Charms and while you can mix in more of the cereal marshmallows if you want, they do act differently than regular marshmallows and tend to get a bit hard and chewy when heat is applied to them. Don't worry; we'll add more on top!
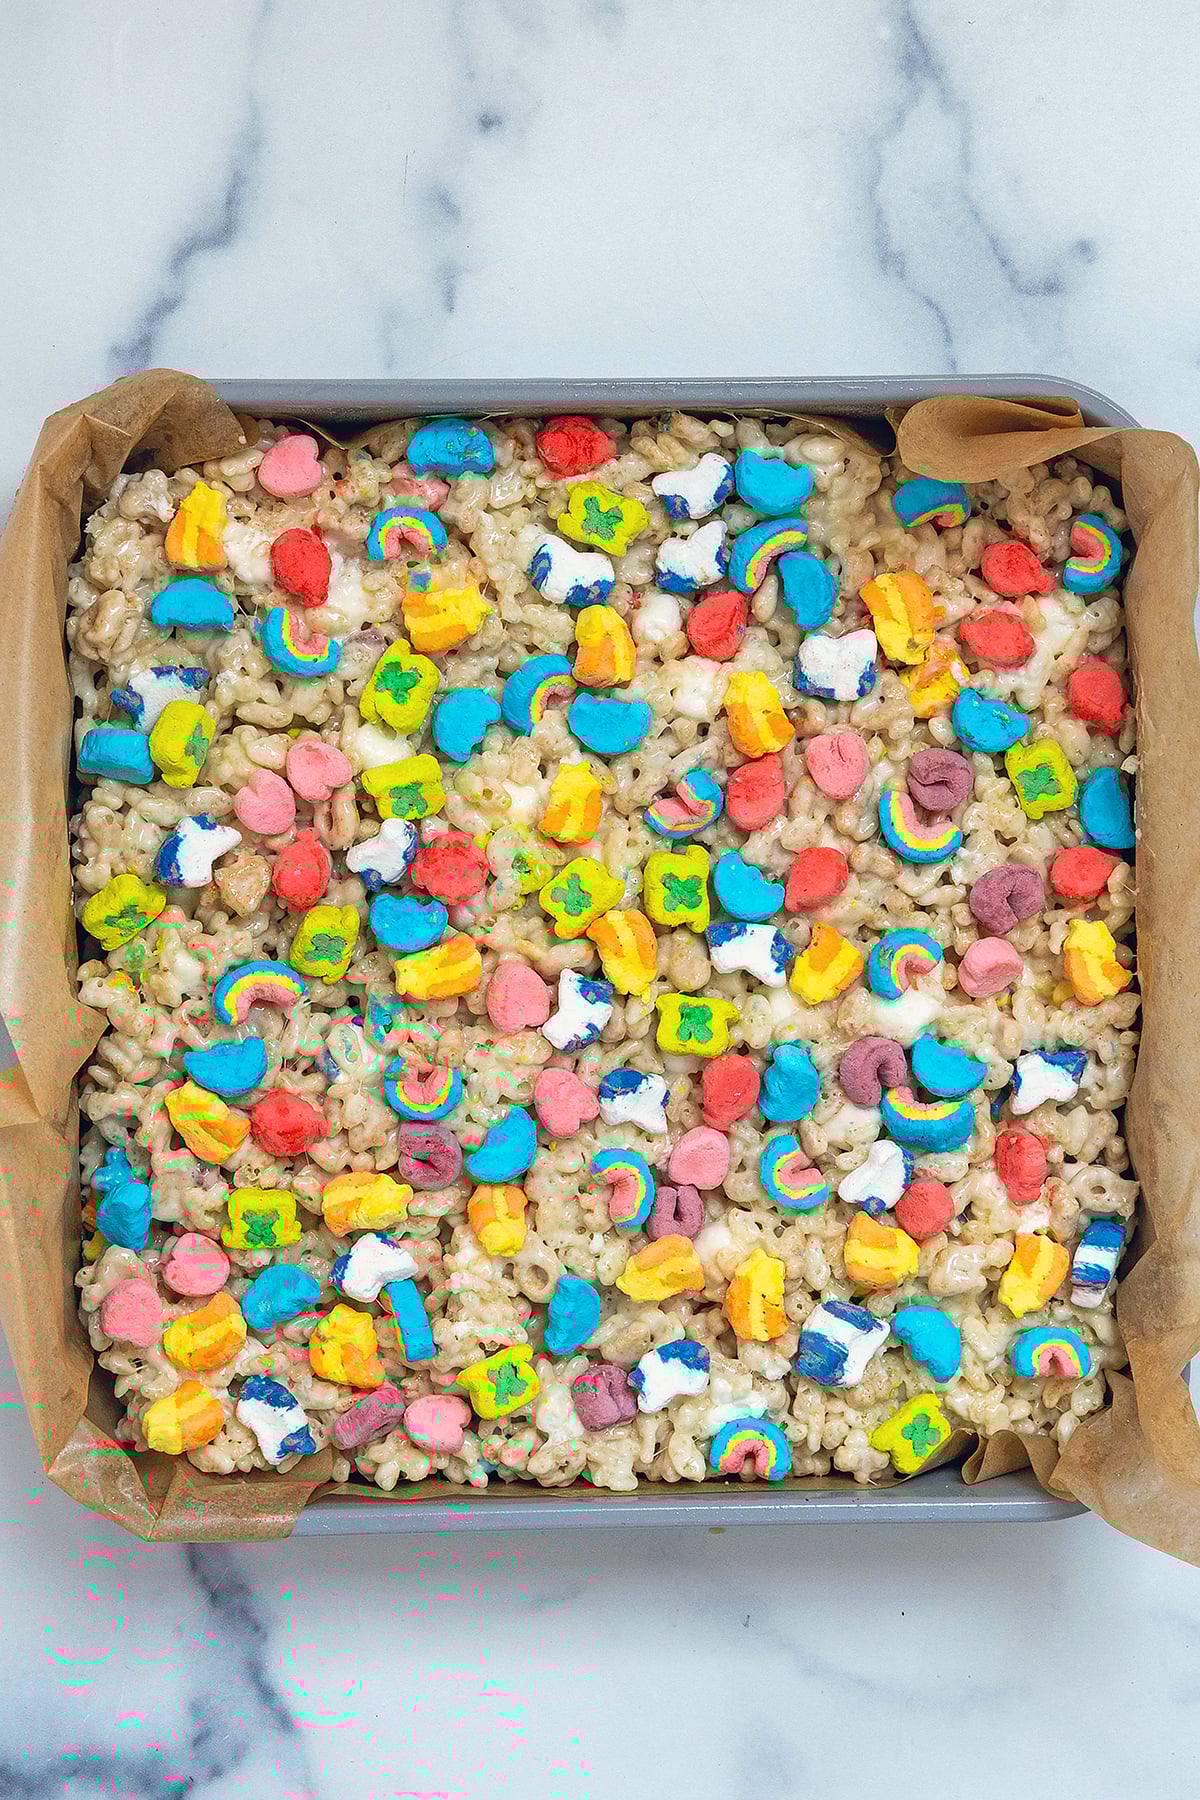
- When pressing the mixture into your prepared pan, it can help to butter or oil your fingers or a spatula to prevent the mixture from sticking everywhere.
📧 Email Me This Recipe
- Press the mixture down just enough to create an even layer. If you press too hard, your bars will likely be dense and tough.
- Once the mixture is pressed down and before it cools, I recommend pressing more Lucky Charms marshmallows onto the surface. The more marshmallows, the better in my book!
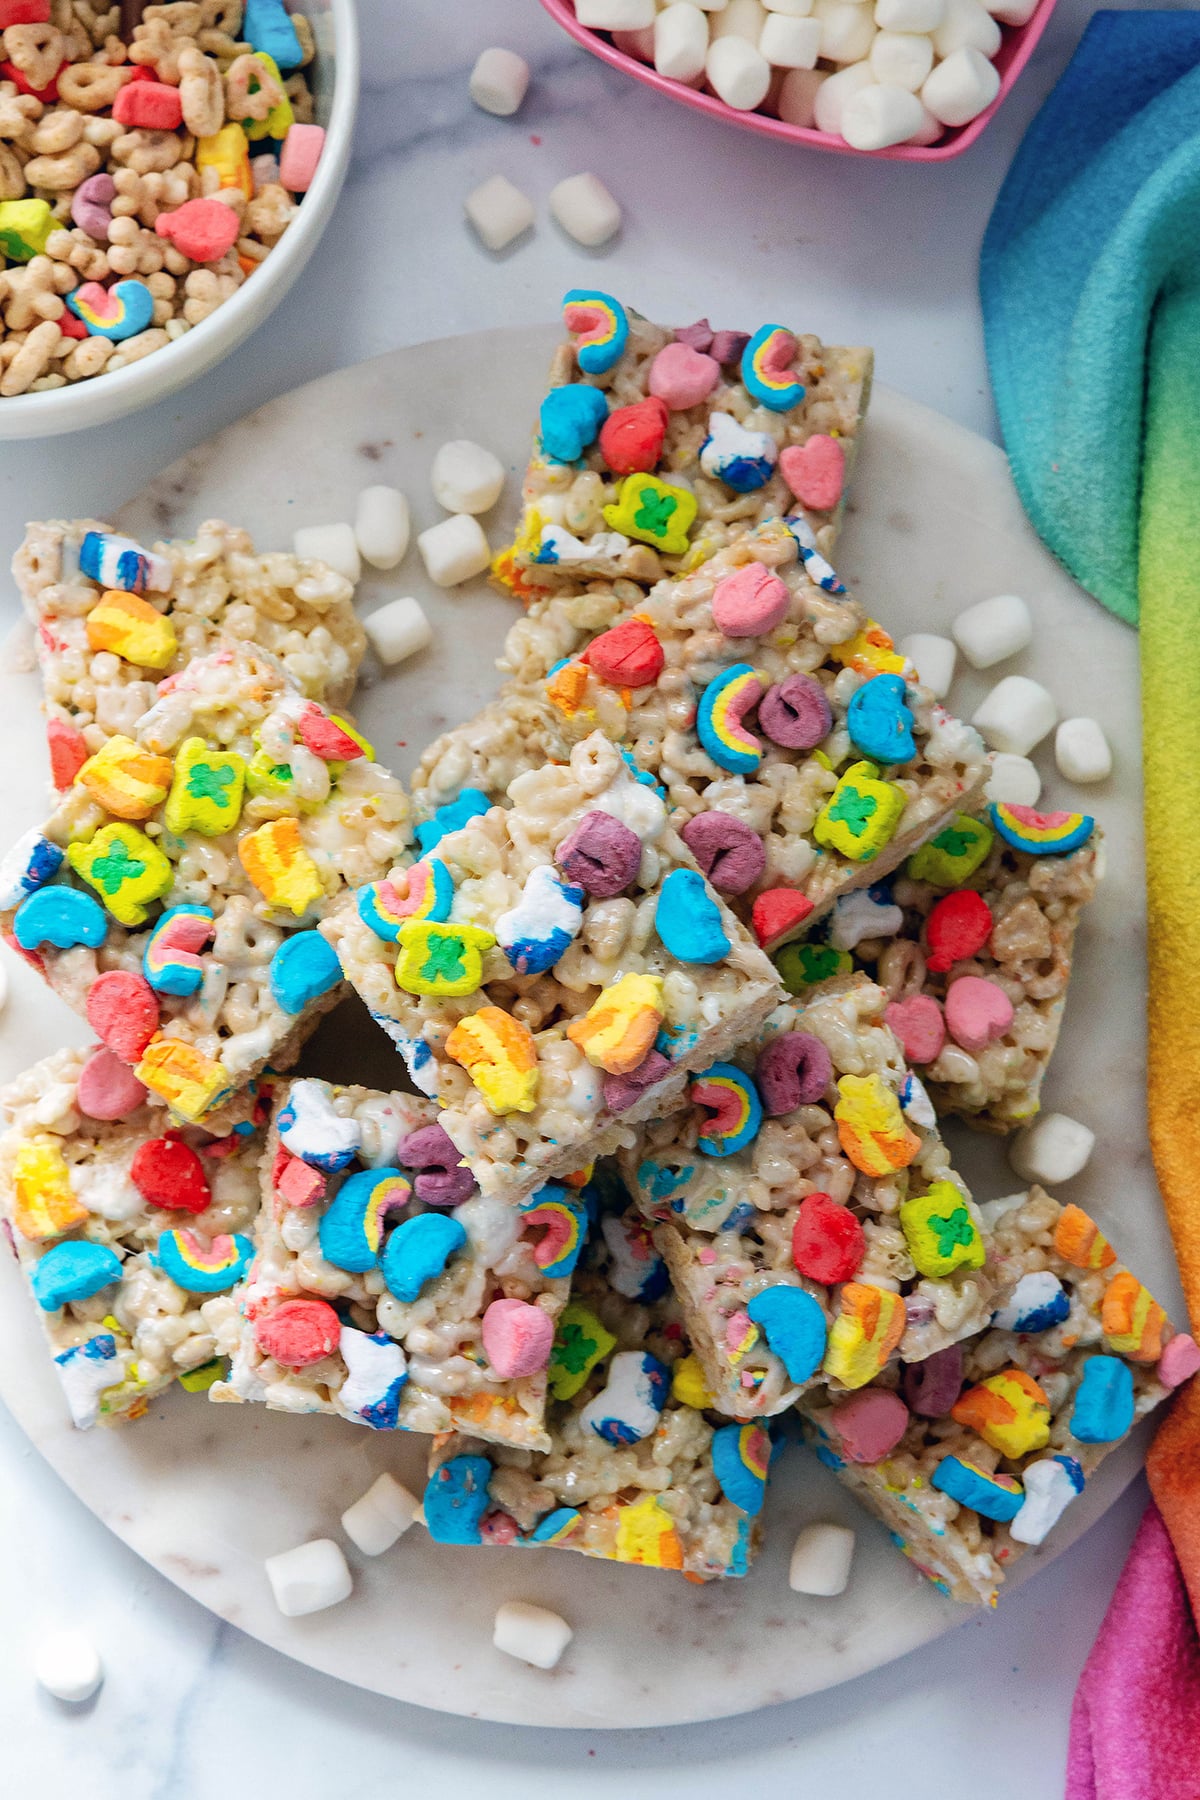
- Let the bars cool for at least 30 minutes before slicing. It can help if you grease the knife with butter or cooking spray to cut through the bars neatly.
And enjoy!
These soft and chewy Rice Krispies treats are made extra delicious with the addition of Lucky Charms cereal.
Mixing the toasted oats pieces with the Rice Krispies adds lots of nostalgic cereal flavor to an already nostalgic treat.
⏲️ How to store
Once the treats are fully cooled and sliced, I recommend storing them in an airtight container at room temperature. When stored properly, they should keep fresh for about a week.
If you're stacking the treats, it can be helpful to separate them with a layer of parchment paper or wax paper, so they don't stick together.
You can even freeze Rice Krispies treats! I recommend wrapping each bar tightly in plastic wrap and putting them in a freezer-safe bag. You can freeze for up to 2 months. Let the bars thaw at room temperature before enjoying.
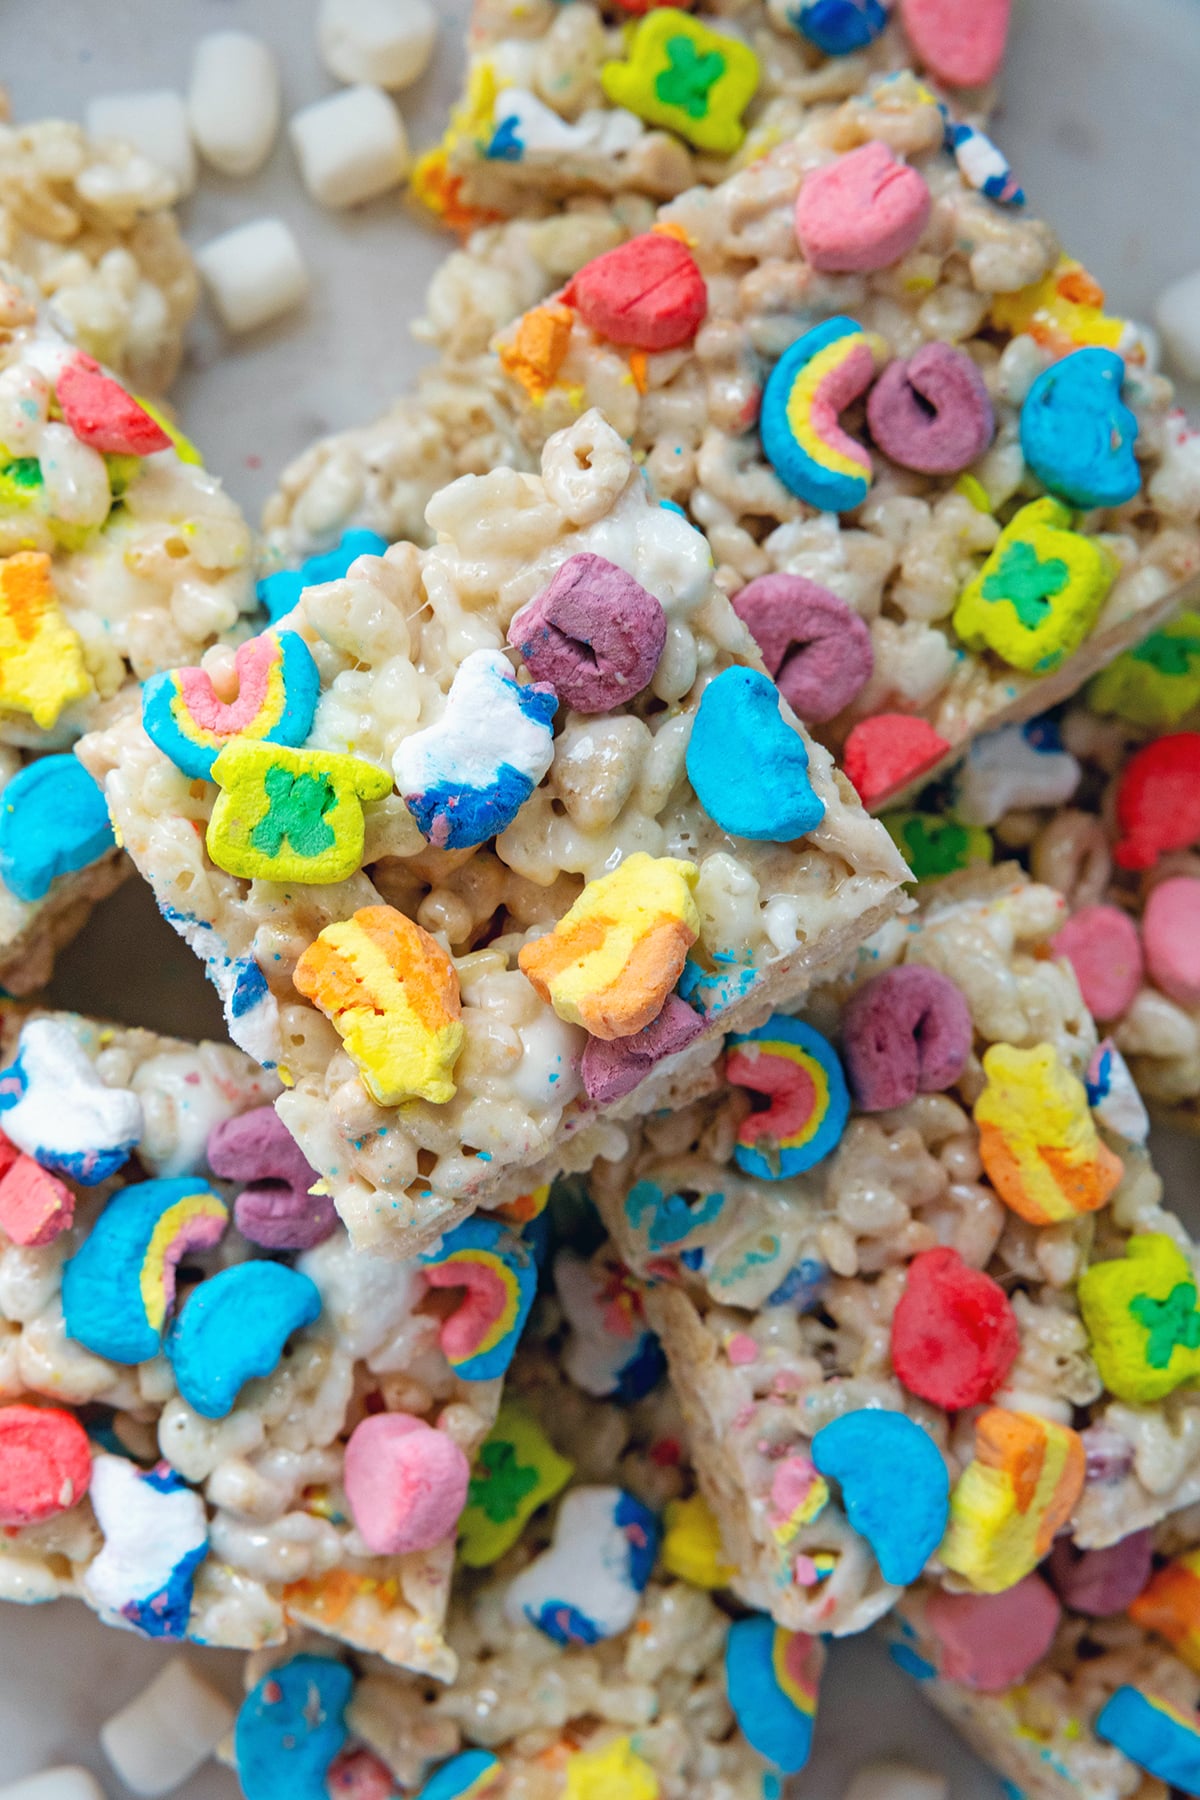
These are such a fun dessert for St. Patrick's Day, but of course, Lucky Charms don't really have a season and can (and should) be enjoyed all year round.
Don't those pretty rainbow marshmallows just instantly make you happy??
🎉 Variations on recipe
I love the simplicity of these Lucky Charms Rice Krispies treats, but I also kept thinking about so many ingredients I wanted to add to them!
Here are some fun ideas:
- White chocolate chips
- Semisweet chocolate chips
- White chocolate drizzle over the top of bars
- St. Patrick's Day sprinkles
- Browned butter (simply cook the butter in the saucepan for 1-2 minutes, until it turns lightly golden and smells nutty, before adding the marshmallows)
- Marshmallow fluff
- Peanut butter, Nutella, or cookie butter
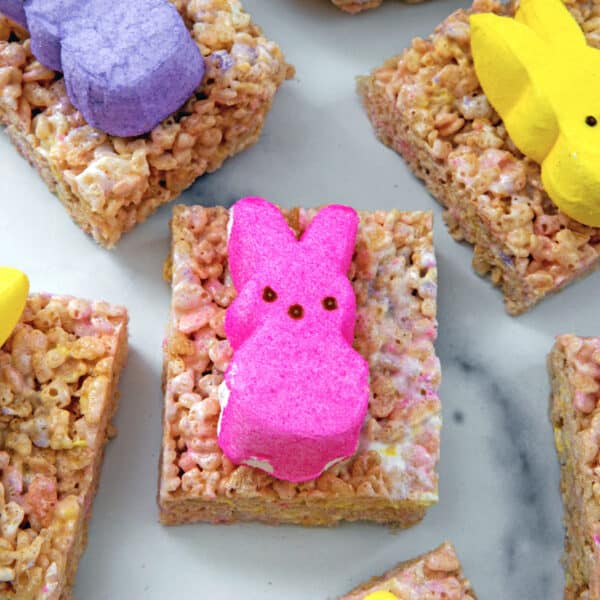
I also have a fun Easter recipe for Peeps Rice Krispies Treats!

🍀 More Lucky Charms recipes
I consider myself a bit of a Lucky Charms fanatic and am always experimenting with them in the kitchen!
You can see all of my cereal recipes here and a few of my favorite Lucky Charms recipes below:


Do you like baking with Lucky Charms cereal or do you prefer to just eat them out of a bowl with some milk?
📖 Recipe
Lucky Charms Rice Krispies Treats
📧 Email Me This Recipe
Ingredients
- 4 tablespoon unsalted butter
- 1 10-oz bag mini marshmallows plus 1 additional cup mini marshmallows, divided
- 1 teaspoon vanilla extract
- 1 tablespoon nonfat dry milk powder optional
- ¼ teaspoon salt
- 3 cups Rice Krispies cereal
- 2 cups toasted oats from Lucky Charms cereal
- ¾ cup Lucky Charms marshmallows divided
Instructions
- Lightly butter a 9x9 pan or line with parchment paper.
- Add butter to a large saucepan over low heat and let it melt.
- Add the 10-oz bag (roughly 6 cups) of mini marshmallows to saucepan and cook, stirring frequently, until marshmallows are mostly melted. Remove from heat while a few small lumps remain.
- Stir in vanilla extract, milk powder (if using), and salt until smooth.
- Fold in the Rice Krispies and the Lucky Charms cereal pieces only (not cereal marshmallows). Stir mixture gently until evenly coated in marshmallow.
- Fold in additional 1 cup mini marshmallows and ⅓ cup Lucky Charms marshmallows
- Immediately put mixture into the bottom of your prepared pan and gently press into an even layer (it can help if you lightly butter or oil fingers or spatula for pressing). Don't press too firmly or treats will get hard. Sprinkle the remaining Lucky Charms marshmallows over the top and press lightly to stick.
- Let Lucky Charms Rice Krispies treats cool at room temperature for at least 30 minutes before slicing.
- Store the cooled treats in an airtight container at room temperature for about a week.


Sharon says
These look deliciously beautiful!