
Looking for a quick weeknight meal that's delicious and healthy? These Baked Chicken Chimichangas are easy to make and healthier than the typically fried Tex-Mex dish. Plus, they make a great freezer meal!
You have no idea how excited I am to be re-sharing this recipe for baked chicken chimichangas with you today. I first made this recipe back in 2012 and I'm happy to declare it the dinner recipe I've re-made the MOST over the last seven years.
This is in large part due to the fact that my husband is obsessed with them. Other than tacos, this is his most requested meal and one that I'm always happy to make. Not only do I make them all the time, but I also ALWAYS have a nice stock of them in the freezer, so they're available for a super easy last-minute dinner whenever we want them.
I originally opted to bake my chimichangas because a) frying is always a more arduous task than baking is. It takes longer, it's messier, and it's smellier. And b) I wanted a healthier chimichanga.
When you can make Tex-Mex/Mexican food healthier AND just as tasty as its original, you can consider it a very good evening. Especially if you have a margarita with it. You know you want to!
What Are Chimichangas?
First thing first, if you've never had a chimichanga, you should know that it's basically a deep fried burrito. They're popular in Tex-Mex cooking and are usually made with rice, cheese, beans, meat, and flour tortillas.
Of course, for this recipe, I decided to bake them instead of fry them and still managed to keep them absolutely delicious.
Why You'll Love This Recipe
These baked chicken chimichangas are so incredibly easy to make and really just require combining the ingredients in a skillet and then assembling the chimichangas in flour tortillas. So, obviously you'll love that.
Oh, and if you use rotisserie chicken (which I recommend), they're even easier.
But you'll also love how packed with flavor and delicious they are. I use chipotle chiles to add a nice flavorful spice, plus the salsa with heat-level of your choice, and lots of sharp cheddar cheese.
And like I mentioned, they're much healthier than the typical chimichanga since they're made with chicken and brown rice and they're baked instead of fried.
There's so much to love!
Ingredients
Here's what you'll need to make these baked chicken chimichangas:
- Olive oil
- Onion
- Chili powder
- Salt
- Garlic
- Cooked chicken (rotisserie chicken works well!)
- Chipotle chiles in adobo sauce
- Oregano
- Salsa (however spicy you like it)
- Cooked brown rice
- Flour tortillas
- Shredded cheddar
- Sliced olives
- Toppings of your choice (avocado, tomato, etc.)
How to Make Baked Chicken Chimichangas
Now I'll show you how easy it is to make this recipe. Be sure to check out my video if you want to see more about the step-by-step process!
I like to use brown rice for these chimichangas since it's healthier and honestly, with all the other ingredients included, it's just as tasty. You'll want the rice to be cooked before you add it and you can always do this a day in advance if you want.
Otherwise, just cook it while you cook and/or shred your chicken. I like to use a rotisserie chicken when I make these because it's so incredibly easy, but you can also cook your own chicken for these if you'd prefer.
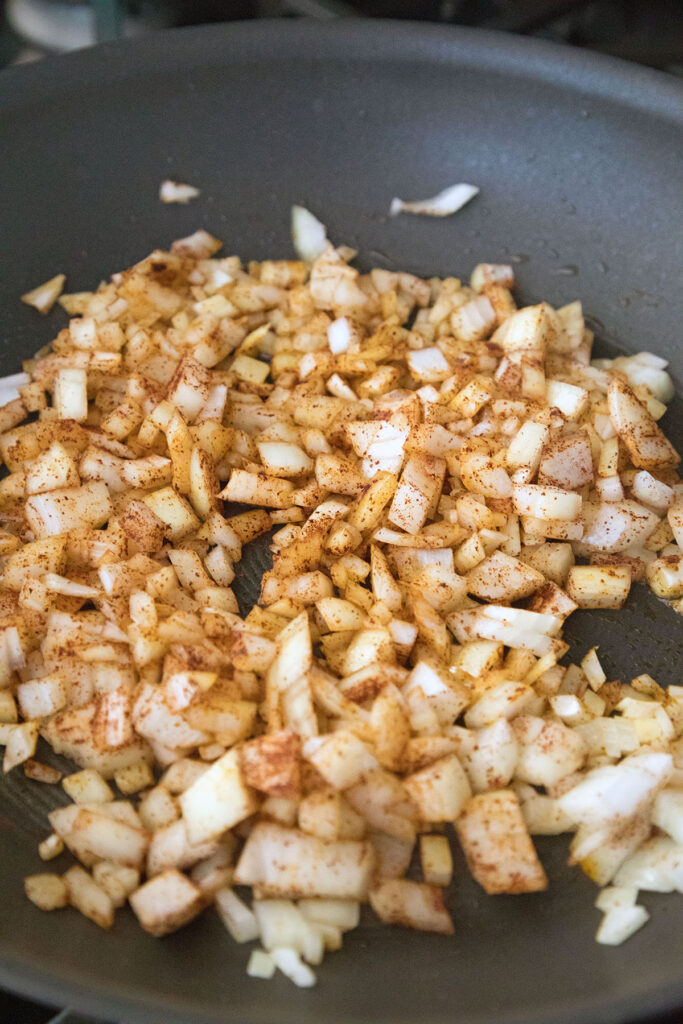
Sauté the onion in a little bit of olive oil, along with chili powder and salt. Add in the garlic and cook until the onions begin to brown.
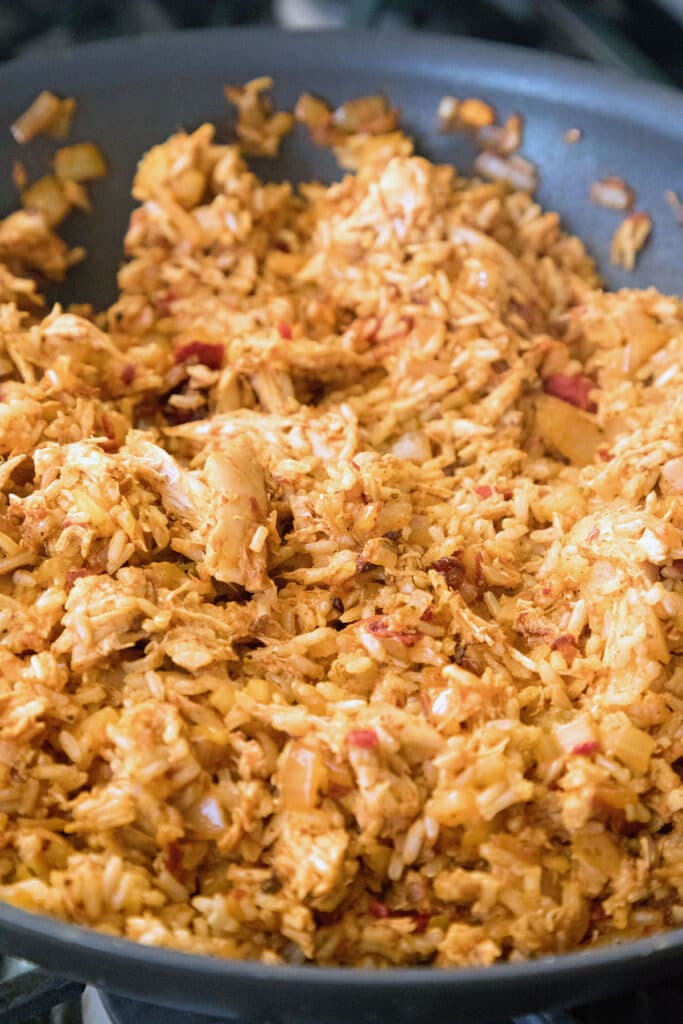
Then add the chicken in, along with the chipotle chilis and sauce and oregano.

You can pretty easily control the spice level of these chimichangas, depending on how many chipotle peppers and how much sauce you use. I've included my recommended below, but I sometimes amp it up a bit for my husband (I've even made them with a whole can before!). If you don't like too spicy, use a little less.
You can also choose what spice level you want your salsa to be. I use spicy, but use mild if you prefer!
Add that in and then cook on low for about 5 minutes. And stir the rice in to combine. And your filling is complete! That's all it takes.
Warm your tortillas a bit in a pan, in the oven, or in the microwave to make them more malleable.
📧 Email Me This Recipe
Now, scoop about ¾ cup of the filling onto the center of a tortilla, sprinkle some nice sharp cheese on top and add some sliced olives if you like them.
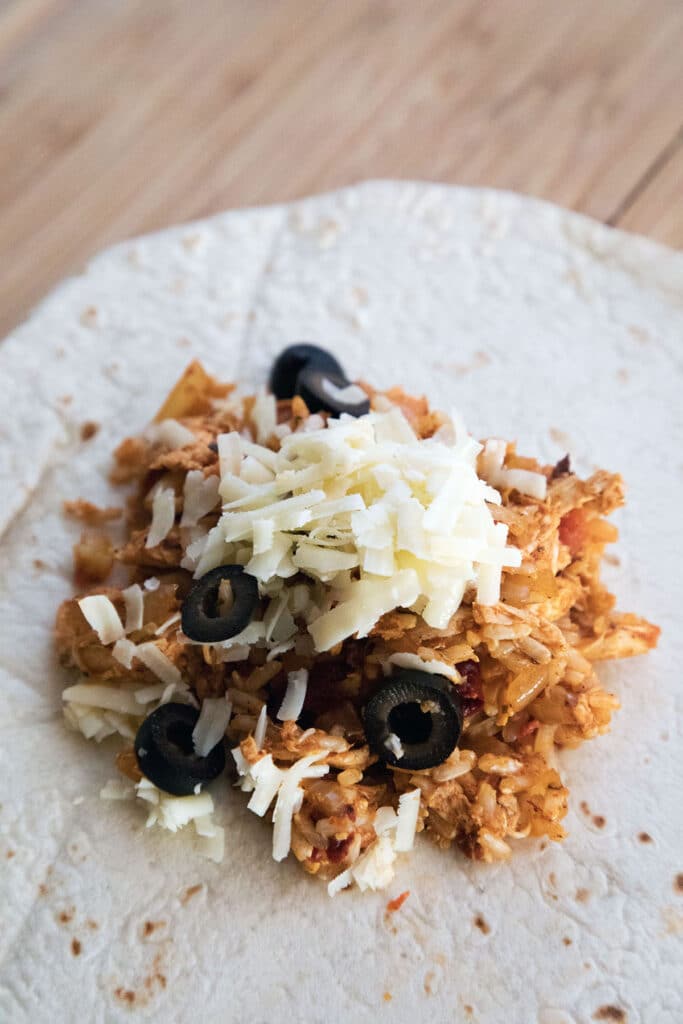
And fold the tortillas up like an envelope! I created a video tutorial for this recipe so you can see exactly how to do this.
Now, place the chimichangas you want to bake (or see below on how to freeze) on a foil-lined baking sheet, brush lightly with olive oil.
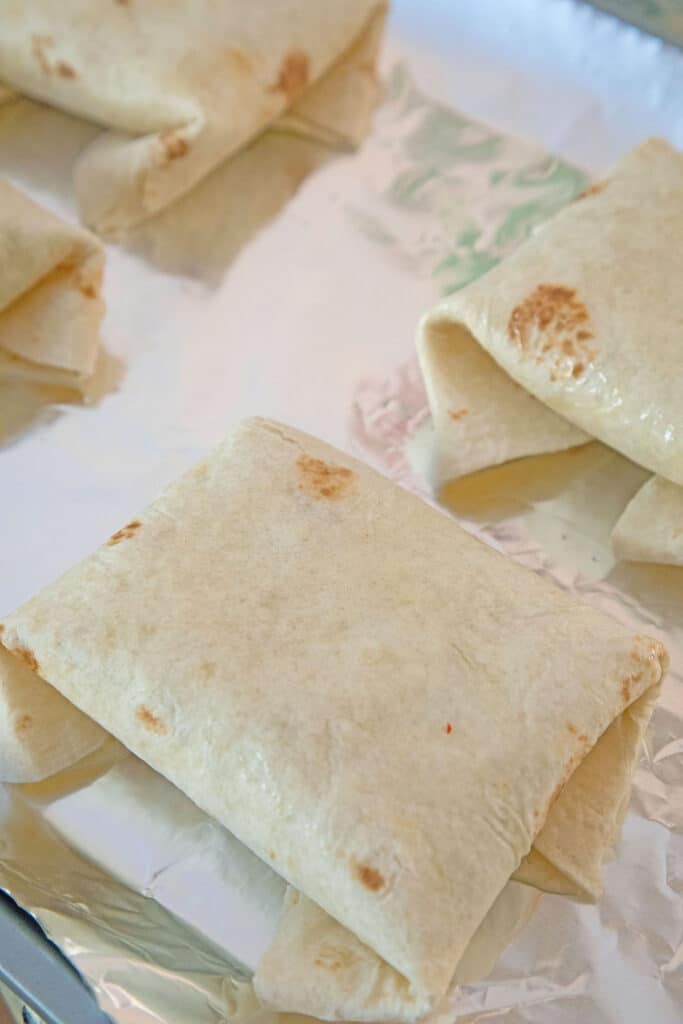
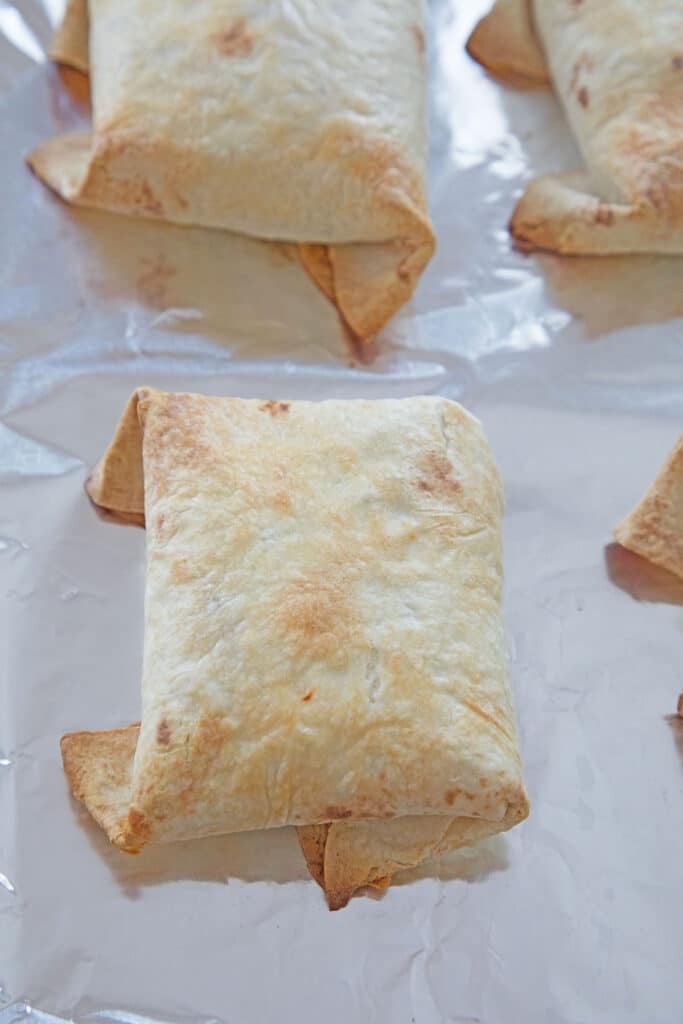
And bake at 400 degree for 16-20 minutes until the chimichangas are turning golden.
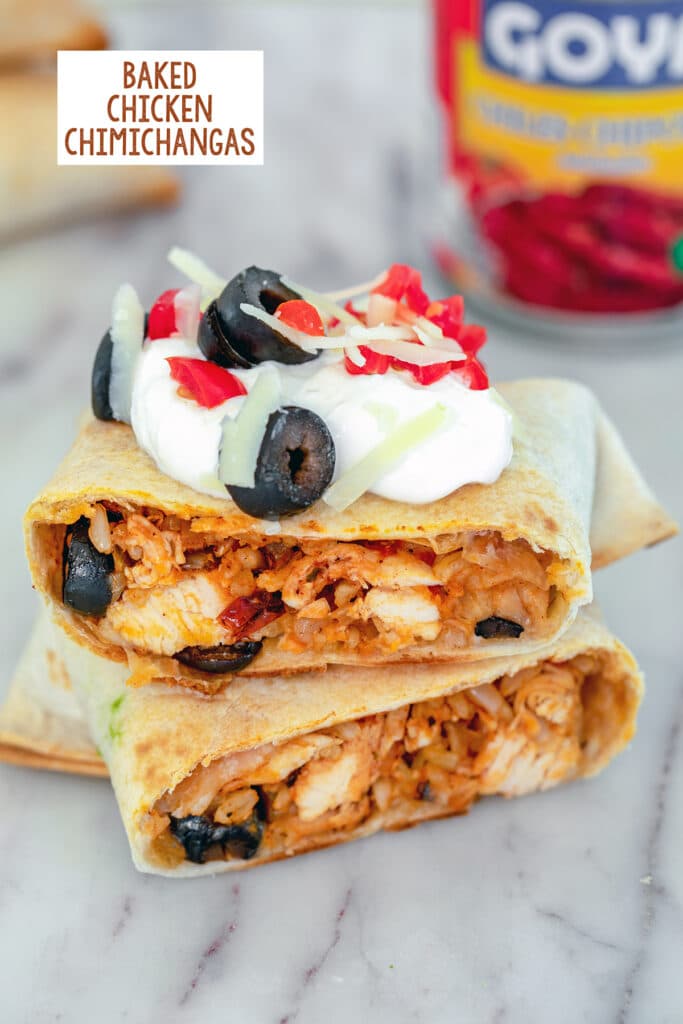
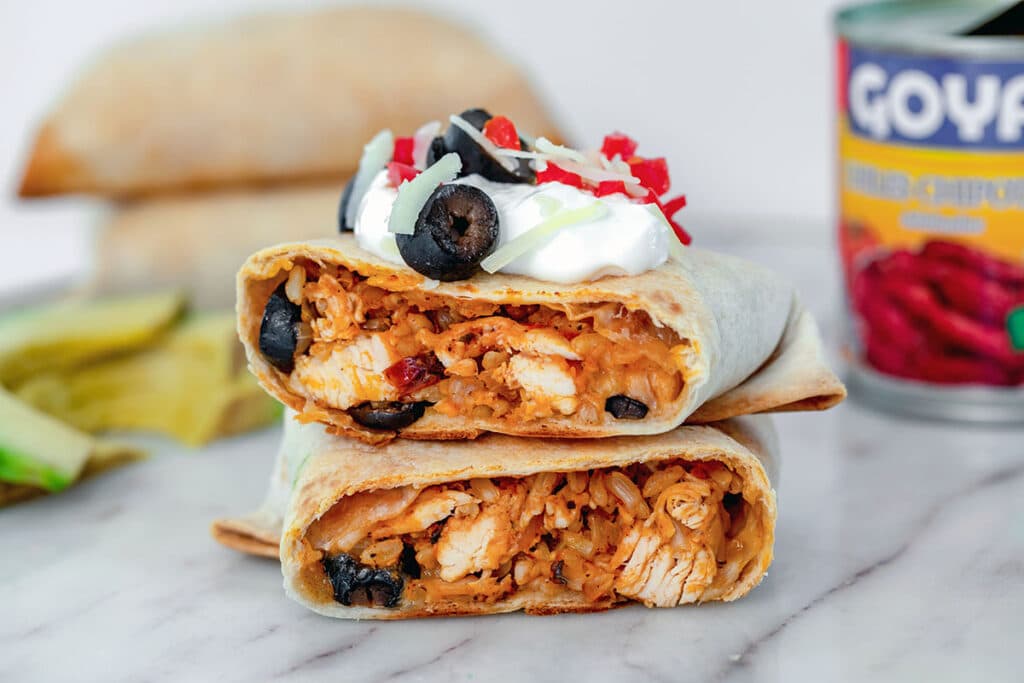
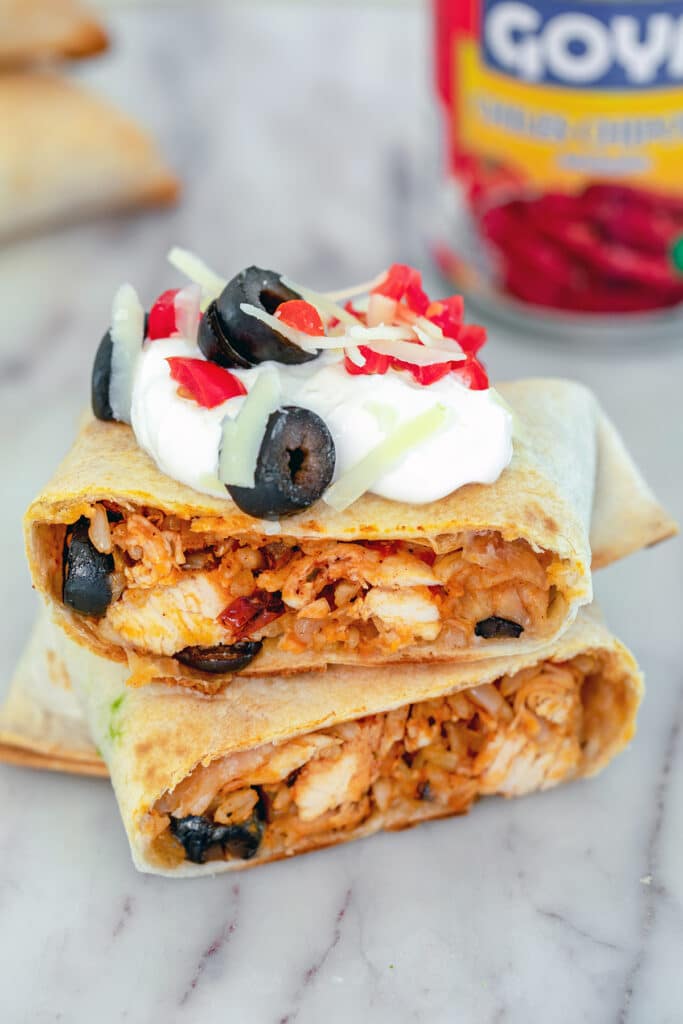
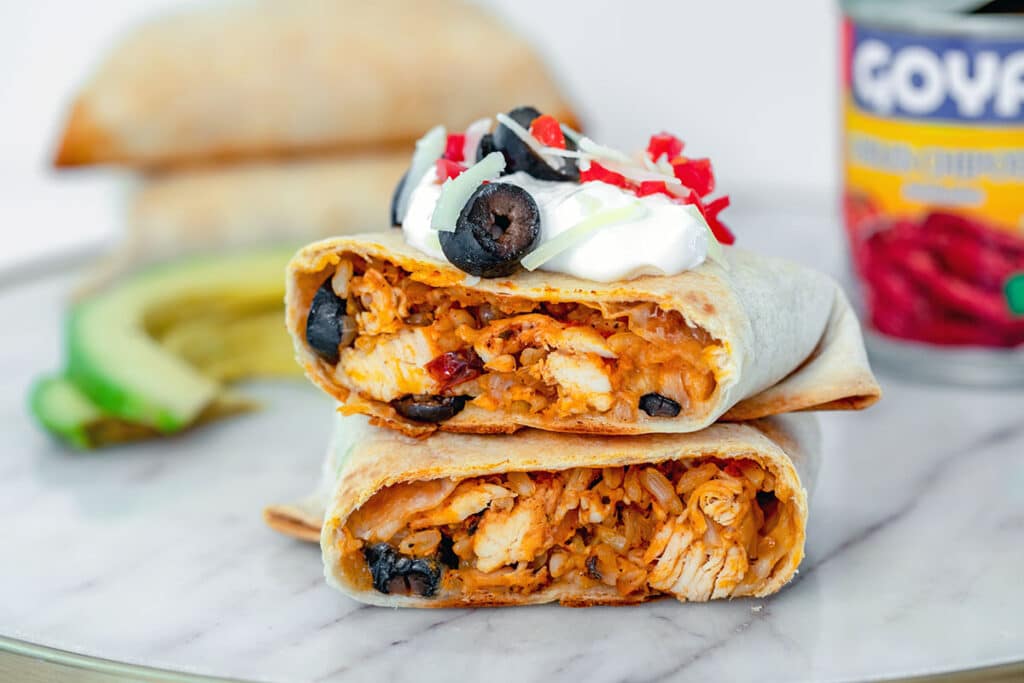
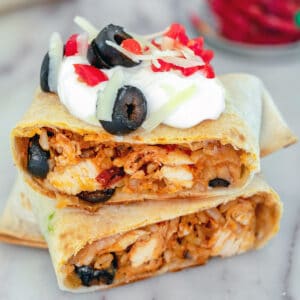
And dig in! Actually, don't. Add your toppings first. I served these baked chicken chimichangas with sliced avocado and added some chopped tomato and a dollop of sour cream. With some more cheese and olives, of course!
I'm always excited by how the tortilla crisp up, but I know the true test is when I cut into the chimichanga. Annnd…
How to Freeze Chimichangas
One of my favorite parts of this recipe? The fact that it freezes SO well! This recipe makes 8 baked chicken chimichangas, but every time I make it, I immediately bake 4 of them and I immediately freeze the remaining 4.
This is also a great meal to make for new parents or someone who is going through a tough time and could use a home-cooked dinner. They can freeze them and just pull one out whenever they want a quick and delicious dinner.
Once you're done assembling the chimichangas, tightly wrap any you want to freeze in plastic wrap, put in a freezer Ziplock bag (make sure all the air is sucked out) and store in the freezer until you're ready to eat.
When you're ready to enjoy, simply unwrap, brush with olive oil, and bake at 400 degrees for for 24-28 minutes. Chris generally prefers to just pop them in the microwave for a couple minutes and that totally works, too!

This filling is amazingly delicious. And as I'm sure you can see by now, so ridiculously easy to make.
I'll probably never fry a chimichanga again. Seriously!! This baked version is just too good to justify getting out the oil, making a mess, and having the extra calories. If I want more calories, I'll just add more cheese and sour cream!
Not only is this dinner a super easy weeknight meal idea, but when you have your freezer stocked with them already prepped, it's even easier. And much healthier and less expensive than ordering a pizza like we so often do when we don't feel like cooking.
If you're making them for the family, you may want to make the mixture a little less spicy for kids... Unless your kids can handle the heat! I think I've always loved a little kick to my food.
More Easy Tex-Mex and Mexican Recipes
If you love Mexican-style and Southwestern food as much as I do, you'll definitely want to check out some of my other
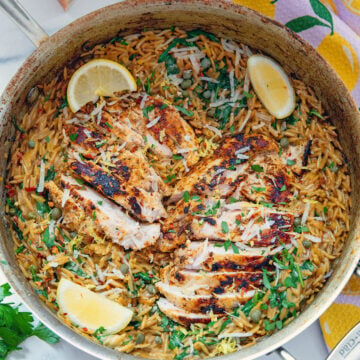
- Creamy Fajita Skillet
- Chilled Mexican Corn Bisque with Shrimp
- Mexican Zucchini Boats
- Spicy Sausage Chilaquiles with Eggs
- Mexican Guacamole Flatbread
- Chicken Avocado Burritos with Corn and Feta Sauce
- Traditional Fried Chimichangas (from MasterClass)
- Chicken Nachos (RecipeTin Eats)
If you or anyone you know loves chimichangas, I highly recommend trying these baked chicken chimichangas. You'll see how easy it is to have Mexican food at home that's healthier and dare I say it, more delicious!
Oh, in case you're wondering the difference between a chimichanga and an enchilada (I was), besides the chimichanga usually being fried... The main difference is that chimichangas are made with flour tortillas while enchiladas are made with corn tortillas.
Enchiladas are also traditionally topped with sauce, while chimichangas are not. I love making enchiladas, too, but nothing beats these baked chicken chimichangas!
What are you eating for dinner this week?
📖 Recipe
Baked Chicken Chimichangas
📧 Email Me This Recipe
Ingredients
- 1 tablespoon olive oil, plus more for brushing
- 1 cup chopped onion
- 1 teaspoon chili powder
- ½ teaspoon salt
- 2 cloves garlic, minced
- 3 ½ cups shredded cooked chicken (rotisserie chicken works well)
- 4 chipotle chiles in adobo sauce, chopped
- 3 tablespoon additional adobo chili sauce
- ½ teaspoon dried oregano
- ½ cup salsa (however spicy you like it)
- 2 cups cooked brown rice
- 8 large flour tortillas, warmed
- 1 ½ cup shredded cheddar, plus more for topping
- ⅓ cup sliced olives, plus more for topping (can omit if desired)
- Avocado, tomatoes, etc., for topping
Instructions
- Preheat oven to 400 degrees and line a baking pan with foil.
- Add olive oil to a large skillet over medium heat. Add onion, chili powder, and salt and cook for 3 minutes. Add garlic and cook for another 2 minutes, until onions are browning.
- Add chicken, chipotle chiles, adobo sauce, and oregano to skillet and stir to combine. Mix in salsa and cook for about 5 minutes.
- Stir in rice and cook until rice is heated through.
- Place a flour tortilla on a plate or work surface. Scoop about ¾ cup of the chicken filling into the center, sprinkle with cheddar cheese and add sliced olives (if desired). Fold the bottom edge of the tortilla tightly over the filling. Fold in the sides and then fold the top down to completely cover filling. Place on foil-covered baking sheet and repeat with remaining tortillas and ingredients. See recipe notes if you want to freeze some or all of the chimichangas.
- Lightly brush tops of chimichangas with olive oil. Bake for 16-20 minutes until chimichangas are turning golden.
- Serve with toppings like avocado, sour cream, tomatoes, additional cheese, and olives.
Video
Notes
- To freeze chimichangas, after assembling them, wrap individual chimichangas tightly in plastic wrap and store in a ziplock bag with all air removed. When ready to bake, remove from plastic wrap, brush with olive oil, and bake at 400 degrees for 24-28 minutes, until cooked through and golden. You can also microwave the chimichangas if you prefer.
View Web Story for this recipe.
Blog is the New Black says
YUM! Looks so delish!
Erica says
hahah...I always say the ll's in quesadilla now too :). They look SO good baked. I want to try this. We had stir fry last night, tonights up in the air
Emily @ A Cambridge Story says
LOVE that it's baked. The fried-ness is such a drawback to the incredible chimichanga!
Wendy says
I can't wait to make these...my family will love them. I had to share with Cabot's Facebook fans!
Michelle says
I have those "don't want to cook" moments a lot lately. Thank goodness for freezing leftovers!
Shannon says
those look fantastic!! you keep teaching me things too, now the difference between enchiladas and chimichangas 🙂
Jan says
Looks incredibly easy and a lovely 'freeze for later' food! Thanks for the idea and the recipe!
Kelly says
Chimichangas more remind me of childhood because they were what I regularly ordered from Chi Chi's, house of clearly authentic Mexican food. 🙂 Ah to be young and not have to worry about calories ever again. I will admit that I personally have an unhealthy love of pan and deep frying. I wish I didn't but I enjoy it so much.
Chris says
I am just about to eat one of these bad boys for lunch. These are one of the most delicious things I've eaten in a while.
janetha says
What a great healthy alternative to the original fried version! Can't wait to give it a shot.
Cara says
This looks awesome and as I am terrified to fry anything, this looks like a wonderful substitution! I see making these this weekend. Thanks for sharing!
Christina says
Napoleon Dynamite reference! I knew you were cool.
Thanks for this post - lately I've been stuck on an enchilada rut and forget about chimichangas.
Michelle Collins says
I love this idea! I've fried my own chimichangas before, but then my whole house smelled like grease...not so appetizing.
Susan says
I love that these are baked and not deep fried like the ones that are served in restaurants. They look delicious!
Gia Grossman says
Nothing like this! It does look just like the fried version does and very very tasty!
Reeni says
My Mom AND Dad both say quesadilla with the l's! I crack up every time. Can't help it. Your chimis are delish - sometimes it's all about the toppings for me!
Susan says
I would never think to make these but they look awesome!
amy @ fearless homemaker says
these sound awesome! pinning to try soon - thanks! or since you're cooking mexican, should i say .... gracias! =)
Frankie T. says
I made these last night, adding some refried beans and fresh chopped cilantro to the chicken filling. I thought they were outstanding! Huge hit with the family, too. Although I love chimichangas, I had sworn them off because of the extra grease and calories that comes with being deep fried. These baked ones have most of the flavor and texture of the originals. What a pleasure to rediscover chimis without guilt!
Sues says
@Frankie- I'm so glad you enjoyed them!! I bet refried beans were an awesome addition. I am so excited I can have chimichangas whenever I want now... And since they freeze so well, they can make for super quick dinners, too!
Beth says
Made these tonight for dinner and am so thankful for extra uncooked now living in my freezer! I subbed quinoa for rice because it's what I had on hand and used leftover crockpot pinto beans since I'm vegetarian. Thank you for the recipe!
Ashley says
I love that these can be frozen and eaten later! My family loves them!
Kasey Schwartz says
OH goodness! These look AMAZING!! I LOVE mexican so much and a little spice! I bet my whole family will gobble these up!
Santosh Kumar says
Fabulous...i really enjoy your recipe..and it looks amazing i will try to making this in upcoming weekend night...Thanks for sharing...!
Ankit Varma says
Trust me when I say ..!! they look delicious as hell 🙂