
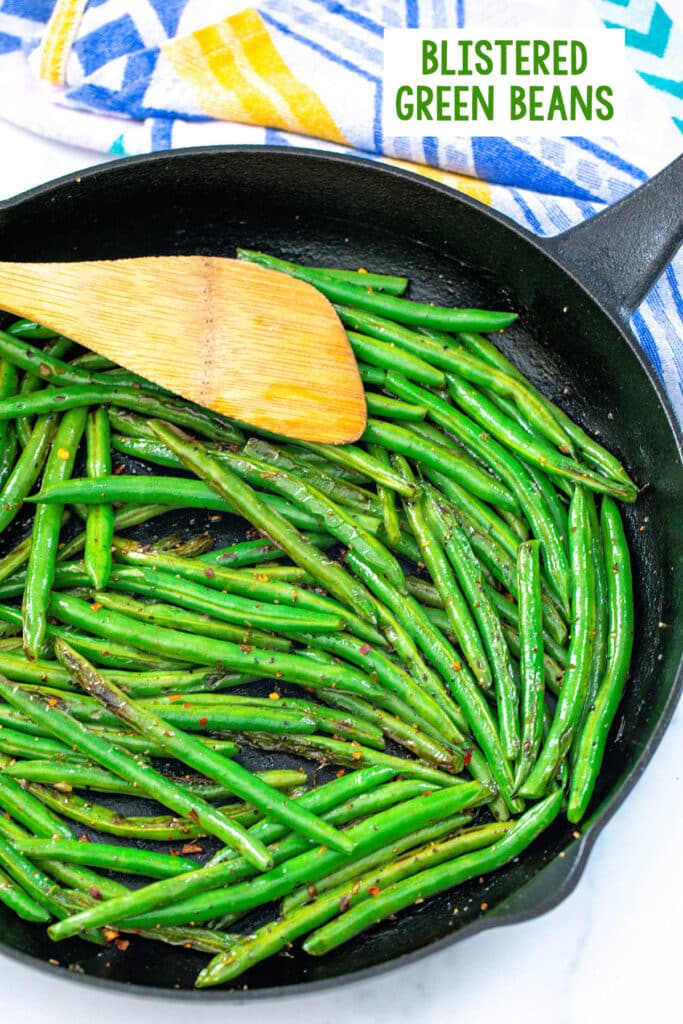
These Blistered Green Beans are a vegetable side dish you'll want to make over and over again! The crispy, tender, and packed with flavor green beans are so easy to make for a weeknight dinner, but they also work perfectly for a special occasion.
Jump to:
When it comes to green beans, I'm incredibly picky. They need to be crispy, bright green, and packed with flavor.
Sometimes I actually prefer raw green beans over ones that are cooked poorly. At least then I know they will have a lot of fresh crisp to them!
But then I perfected my blistered green beans recipe and realized that I had found green bean heaven. This is pretty much the only way I cook them now (unless I'm making a homemade green bean casserole) and it's such a simple recipe.
❤️ Why you'll love this recipe
You'll love this blistered green bean recipe for SO many reasons. First of all, it's so incredibly easy! Just as I feel pretty much all side dishes should be. You can make them at the last minute when your main dish is almost ready.
It's also delicious! When cooked with this method, the green beans are deliciously crispy and packed with flavor.
This is the kind of vegetable side dish you should be able to get your whole family to eat. If you also love broccoli as a green vegetable side dish, check out this post on how long to boil broccoli.
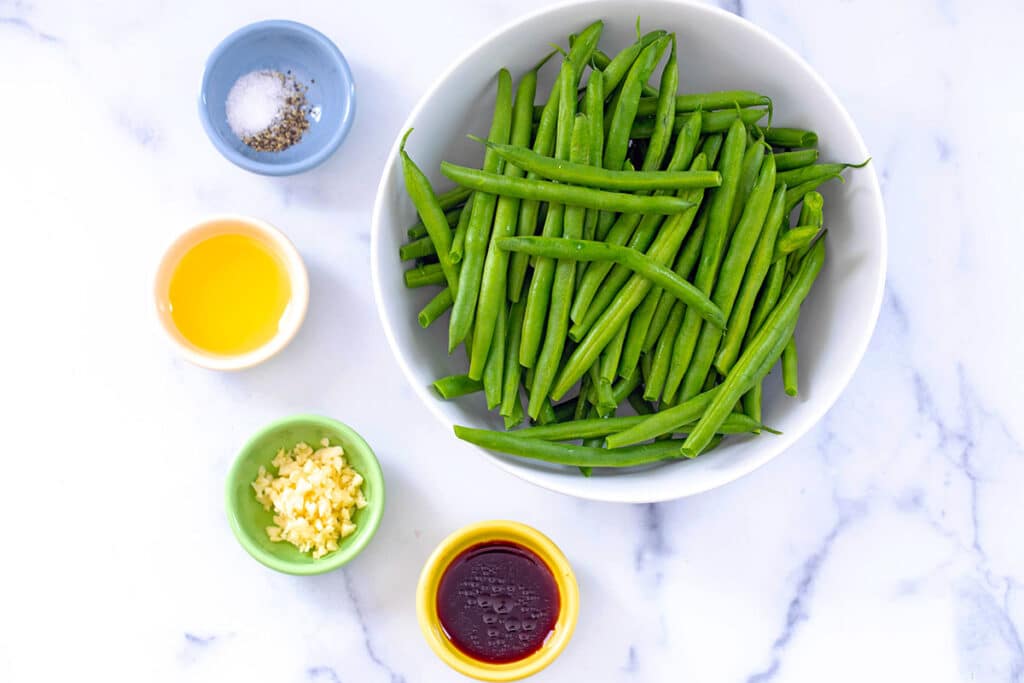
🗒 Ingredients
You don't need many ingredients to make this easy veggie side. Here's everything required (please see recipe card at the bottom of this post for ingredient amounts and full instructions):
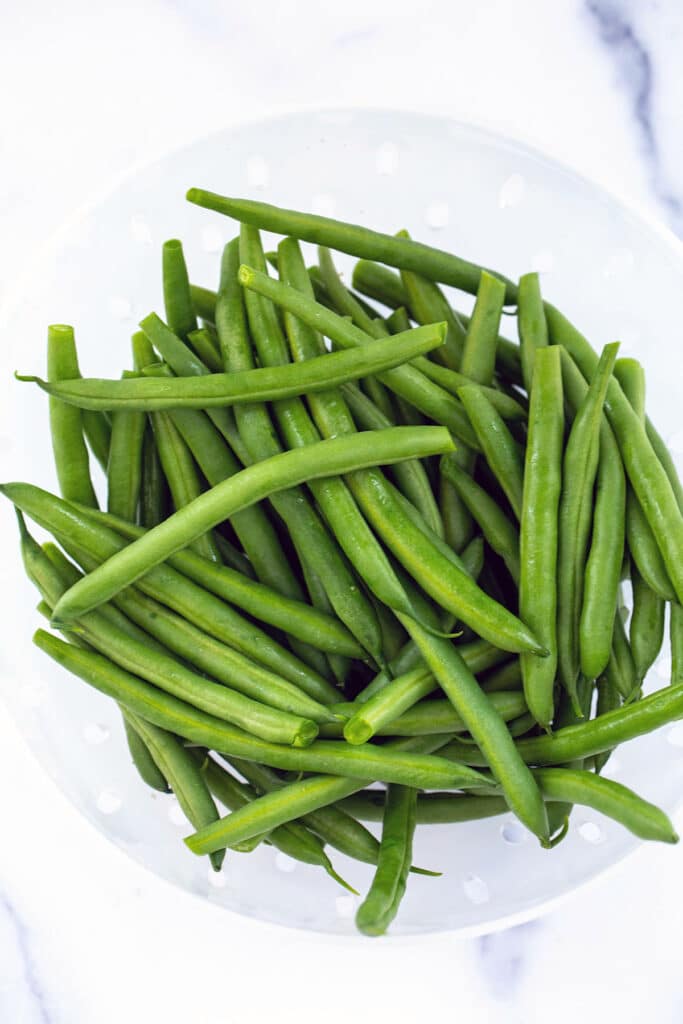
- Green beans
- Olive oil
- Minced garlic
- Soy sauce: optional, but adds great umami flavor!
- Pepper
- Salt: you can omit this if using soy sauce
See? The ingredients are so simple, you can make these blistered green beans whenever you need a last minute side dish!
🚰 Do I need to blanch green beans before sautéing?
I went back and forth on whether or not the green beans should be blanched before sautéing them. After some experimentation, I decided they definitely do not and this is a step you can skip.
Blanching is meant to bring out a vegetable's bright color and keep it crispy without overcooking. I would blanch green beans if I was going to add them to a salad- that way they'd be bright green and have the perfect crunch to them.
And I might blanch a harder vegetable like carrots or broccoli (here's a great tutorial on how to blanch broccoli) if I wanted to add them into a stir-fry and knew I wouldn't have them in long enough to fully cook them.
But these green beans are being cooked over high heat for a long enough time that the will be fully cooked and bright green, so blanching is a step you can easily skip!
👩🍳 How to make blistered green beans
Not only are the ingredients simple, but the entire recipe is very easy to make from start to finish.
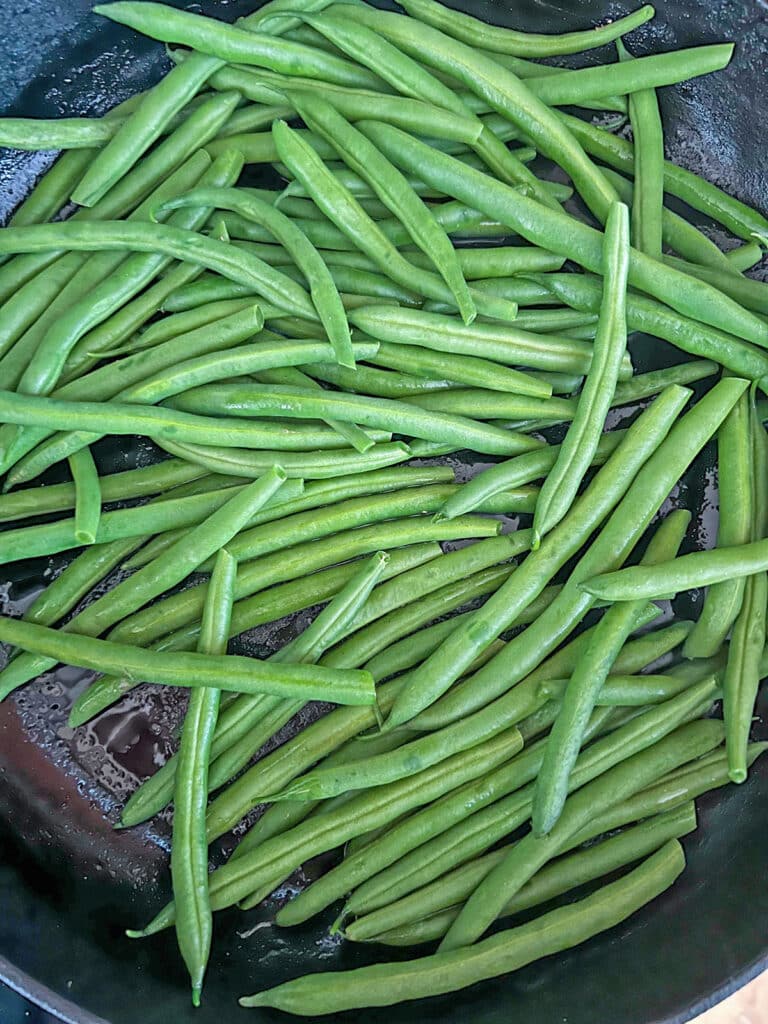
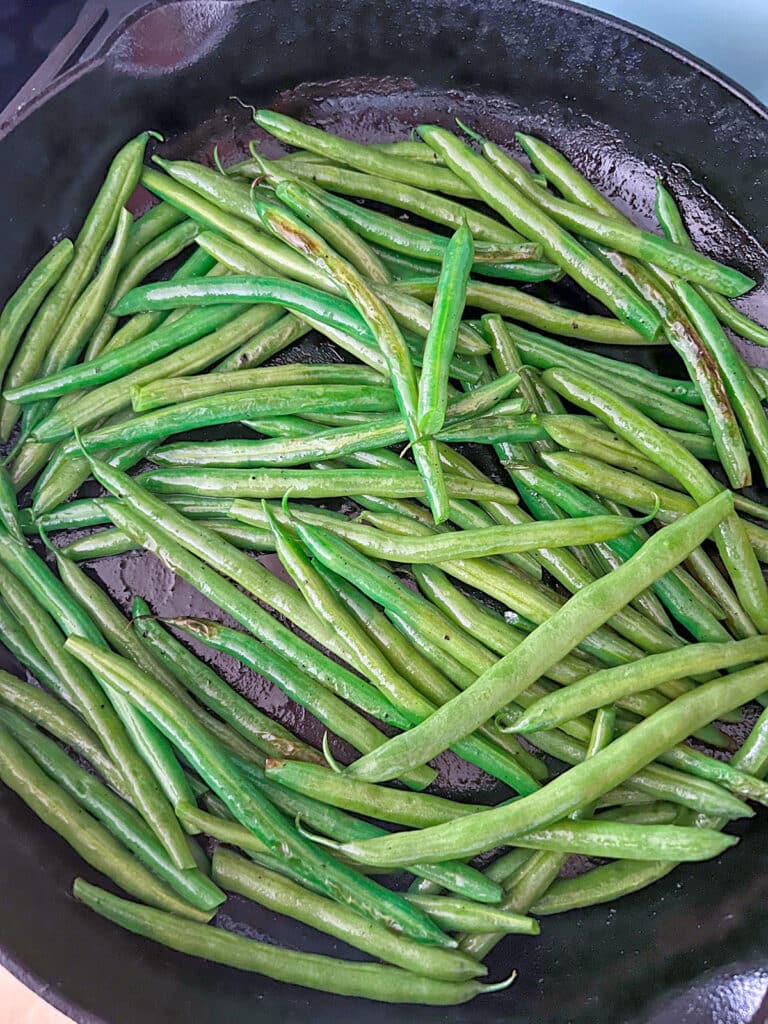
Just heat a large skillet (preferably cast iron) over medium-high heat.
Add olive oil to skillet and when hot, add green beans.
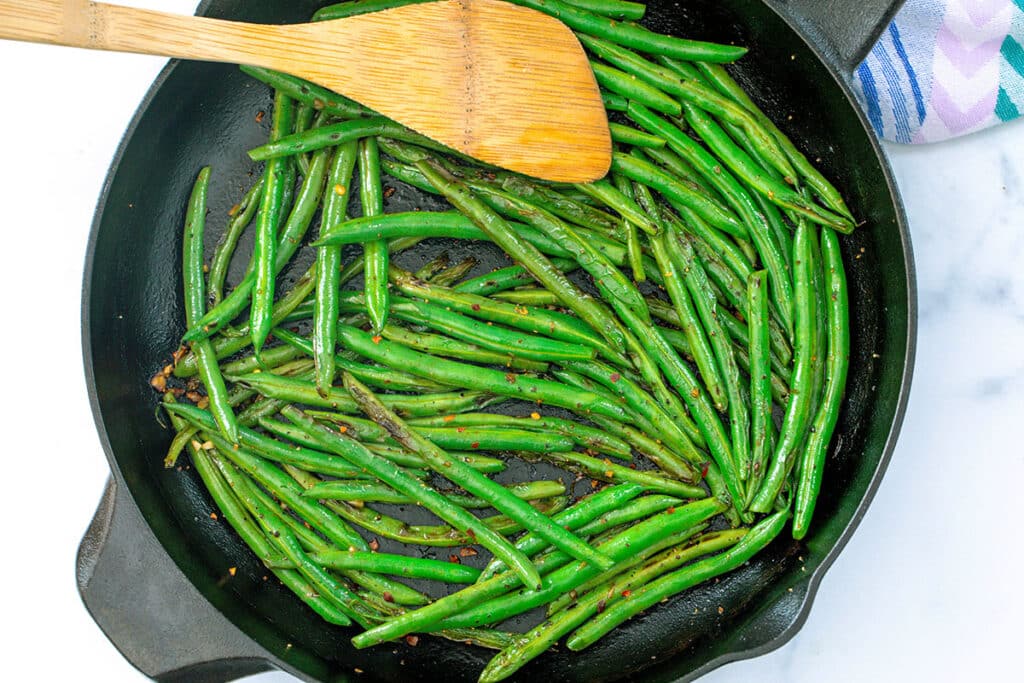
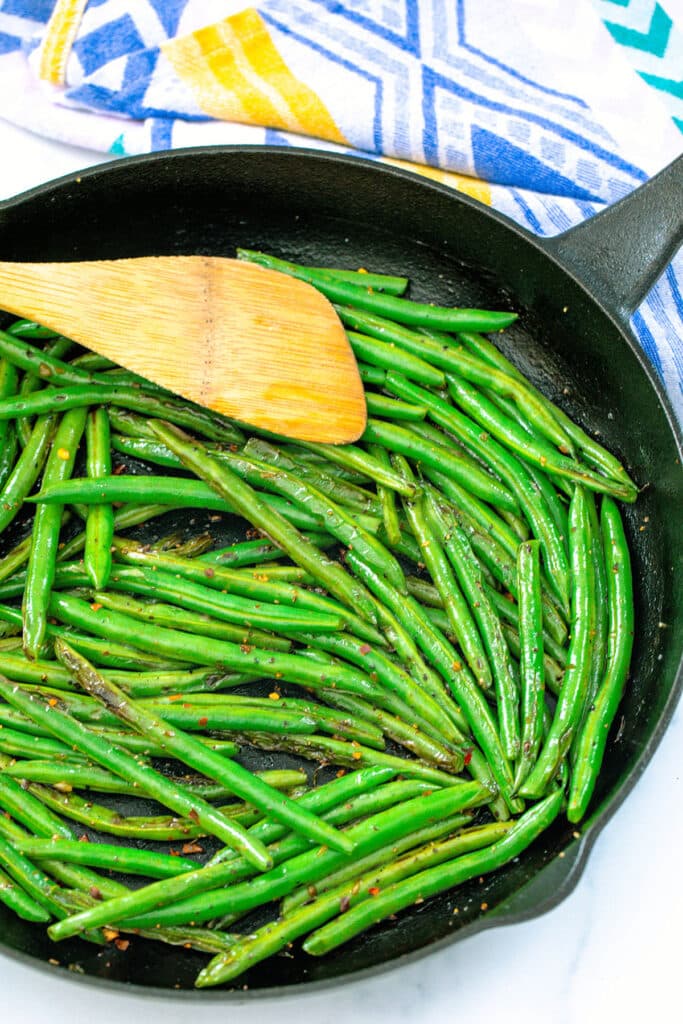
Let green beans sit in skillet, without stirring, for about 2 minutes, until they're starting to blister AKA blacken a bit.
Once they're starting to blister, gently toss them and then let sit for another 2 minutes to continue to blister. Repeat once more.
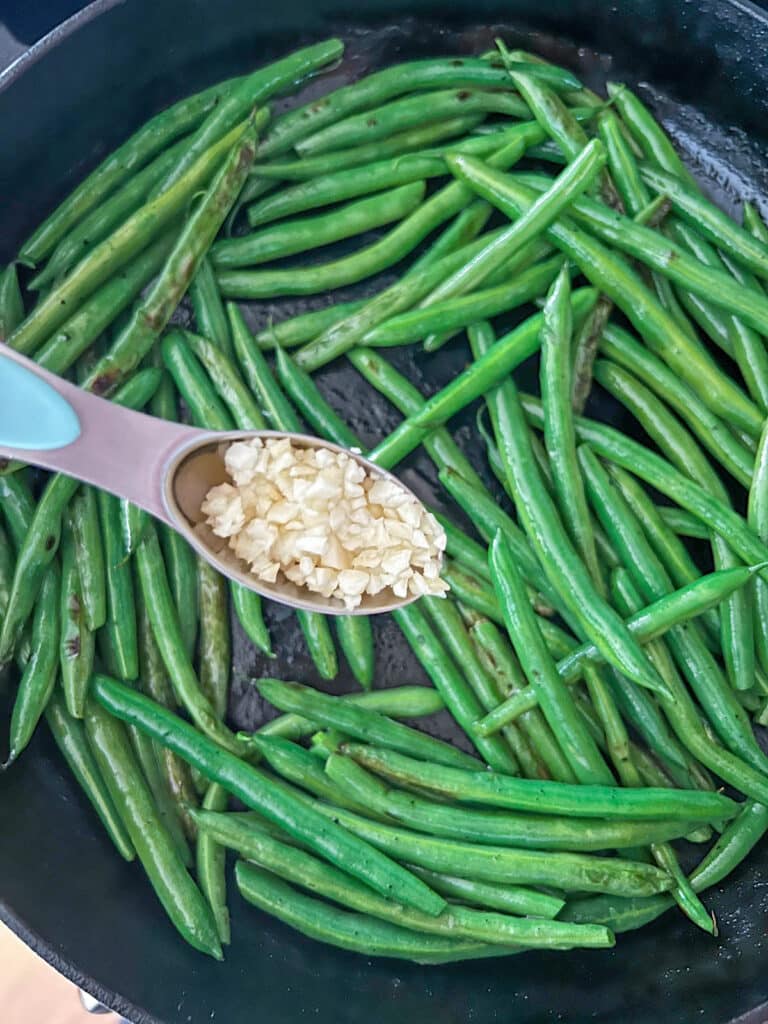
Add garlic to skillet, toss to combine, and cook for 1 more minute.
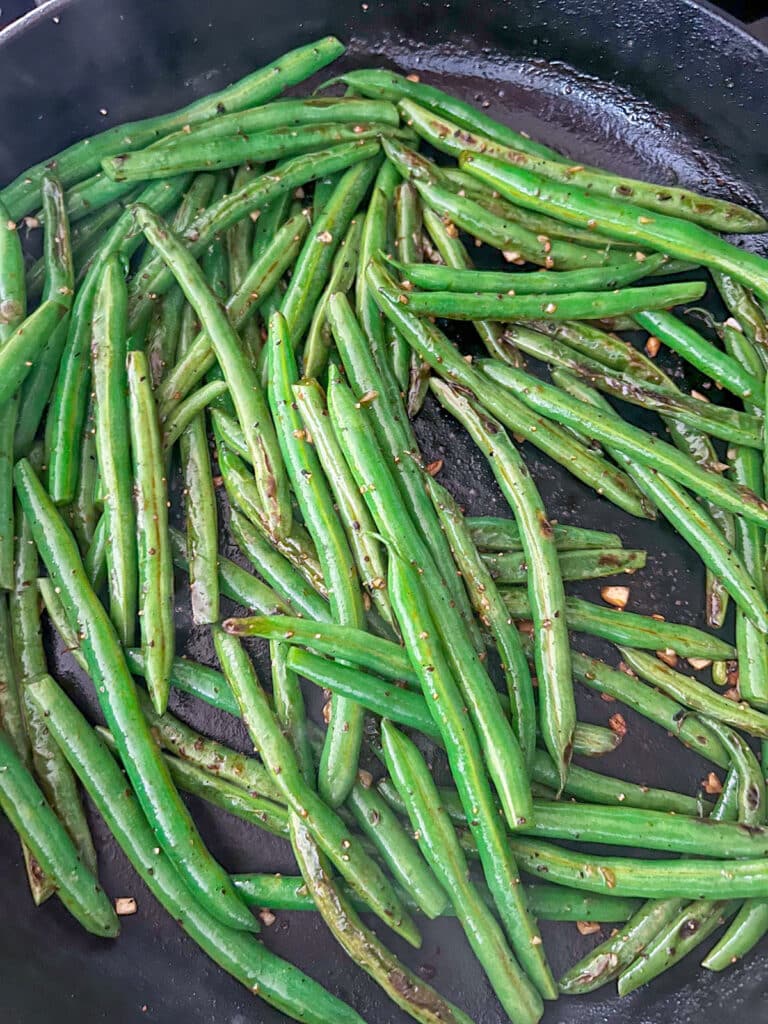
Remove from heat and toss green beans with soy sauce, black pepper, and red pepper flakes. If not using soy sauce, you can add salt, too.
📧 Email Me This Recipe
I love using soy sauce because it adds a bit more of a complex flavor than just salt alone.
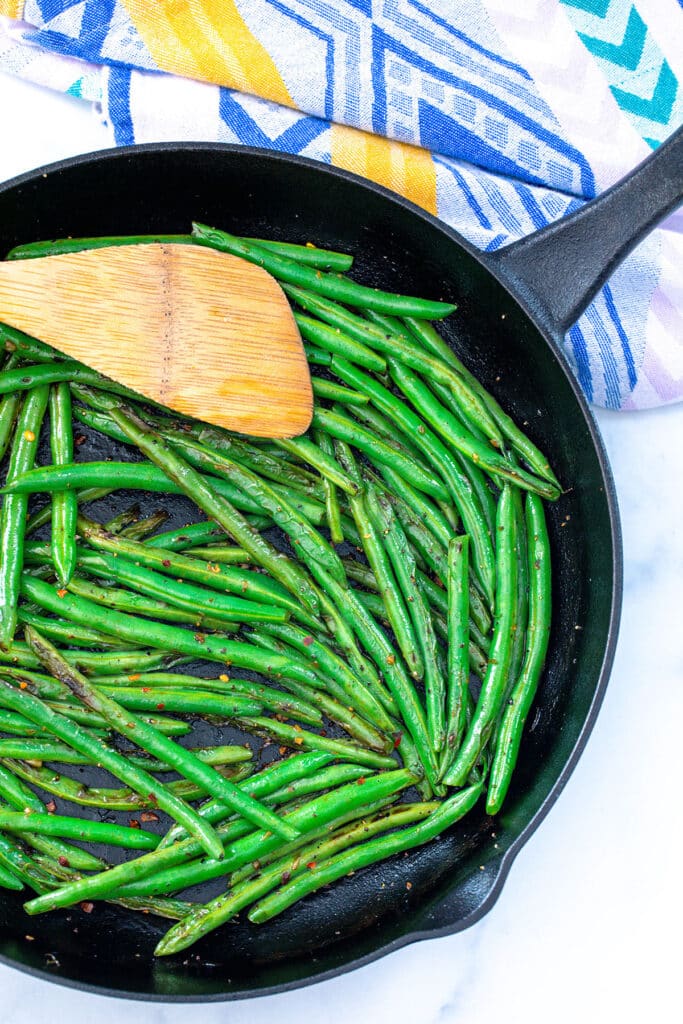
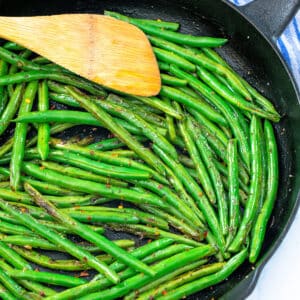
In just minutes, the blistered green beans are ready to be served!
They're the perfect last-minute weeknight dinner side that go with everything from chicken to pork to beef.
But they also make the perfect special occasion or holiday dinner side dish. Because they're so easy to make, you can cook them quickly at the last minute and serve immediately.
I guarantee at least a couple people at your dinner party will proclaim them the best green beans they've ever had!
💡 Recipe tips
Though this recipe is ridiculously easy, I do have a few tips to make sure your blistered green beans are perfect every time!
- Be sure the skillet and oil are hot before adding the green beans: If the skillet isn't heated before you add the beans, they will be sitting in it for too long waiting for it to heat and could overcook.
- Don't overcrowd the pan: You want the green beans to cook as evenly as possible, so you don't want to pack too many into the pan. In fact, I probably even have slightly too many in my skillet as it's really best if they can lay in a single layer.
- Prep in advance: If you're serving these at a dinner party, you may want to prep as much as possible in advance. While I do recommend waiting to cook them until just before serving, you can wash and trim the green beans a day or two in advance. I recommend wrapping in paper towels and storing in an airtight container or Ziplock bag in the fridge until ready to use.
- Blister as much as you want: If you prefer your green beans even more "charred," you can blister them even more. Just cook for a minute or two longer before adding garlic.
- Experiment with seasonings: I love keeping it simple with a little garlic, soy sauce, pepper, and red pepper flakes, but you can omit and add anything you want. If you don't like spicy, don't use red pepper flakes. If you want a more herbal flavor, you can add dried thyme, oregano, parsley, or rosemary. Try adding some minced ginger or lemon juice for a burst of fresh flavor.
- Use blistered green beans as part of a bigger dish: While these make the perfect side dish as is, you can add to them and make them an even more robust side. I like mixing them with blistered cherry tomatoes and/or crispy shallots and bringing to the dinner table on a serving platter. They are also delicious with caramelized mushrooms!
I also love this recipe for garlic potatoes and green beans as a delicious side dish idea.
🧊 Can I use frozen green beans?
I haven't personally made this recipe with frozen green beans, but you should be able to do it just fine!
You shouldn't need to thaw them before sautéing, but you may need to cook them for a minute or two longer.
🥫 Can I use canned green beans?
Canned green beans are already cooked, so it's really hard to blister them without overcooking them. For that reason, I highly recommend fresh green beans or frozen green beans for this recipe!
🔪 Can I use haricot verts?
I love cooking with haricot verts (AKA French green beans) and you can definitely use them for this recipe. Just note that because they are thinner, they'll likely blister more quickly than regular green beans, so be sure to kee a close eye on them.
🥘 What to serve with
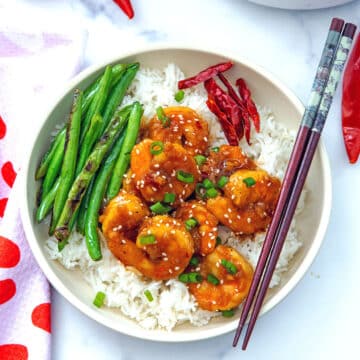
Blistered green beans go with so many main dishes! Here are some of my favorite ideas:
- Pork Cutlets with Olives and Capers
- Sizzling Garlic Chicken Wings
- Greek Stuffed Chicken
- Gigi Hadid Pasta (Spicy Vodka Pasta)
- Creamy Grapefruit Salmon
- Spinach and Brie-Stuffed Chicken
- Bacon-Wrapped Meatloaf
- Spicy Ginger Honey Wings
- Pan-Seared Steak with Mushrooms (from Primavera Kitchen)
Honestly, there's not much these green beans wouldn't be fabulous with! But I also wouldn't blame you if you just made them for a snack.
What's your favorite way to serve green beans?
📖 Recipe
Blistered Green Beans
📧 Email Me This Recipe
Ingredients
- 1 lb green beans, stems trimmed
- 1 ½ tablespoon olive oil
- 1 tablespoon minced garlic
- 1 ½ tablespoon soy sauce, optional
- ¼ teaspoon pepper
- ¼ teaspoon red pepper flakes
- ¼ teaspoon salt (omit if using soy sauce)
Instructions
- Heat a large skillet (preferably cast iron) over medium-high heat.
- Add olive oil to skillet and when hot, add green beans. Let green beans sit in skillet (without stirring) for about 2 minutes, until they're starting to blister.
- Gently toss and let sit for another 2 minutes to continue to blister. Repeat once more.
- Add garlic to skillet, toss to combine, and cook for 1 more minute.
- Remove from heat and toss green beans with soy sauce, black pepper, and red pepper flakes. If not using soy sauce, you can add salt here, too.


Zev says
This has become a monthly dish in our house. I've even scaled it for company. We use half the soy sauce and no extra salt. Tonight I tried it with asparagus and it worked out too, the asparagus needed more time, but honestly wasn't as good as the original recipe.