

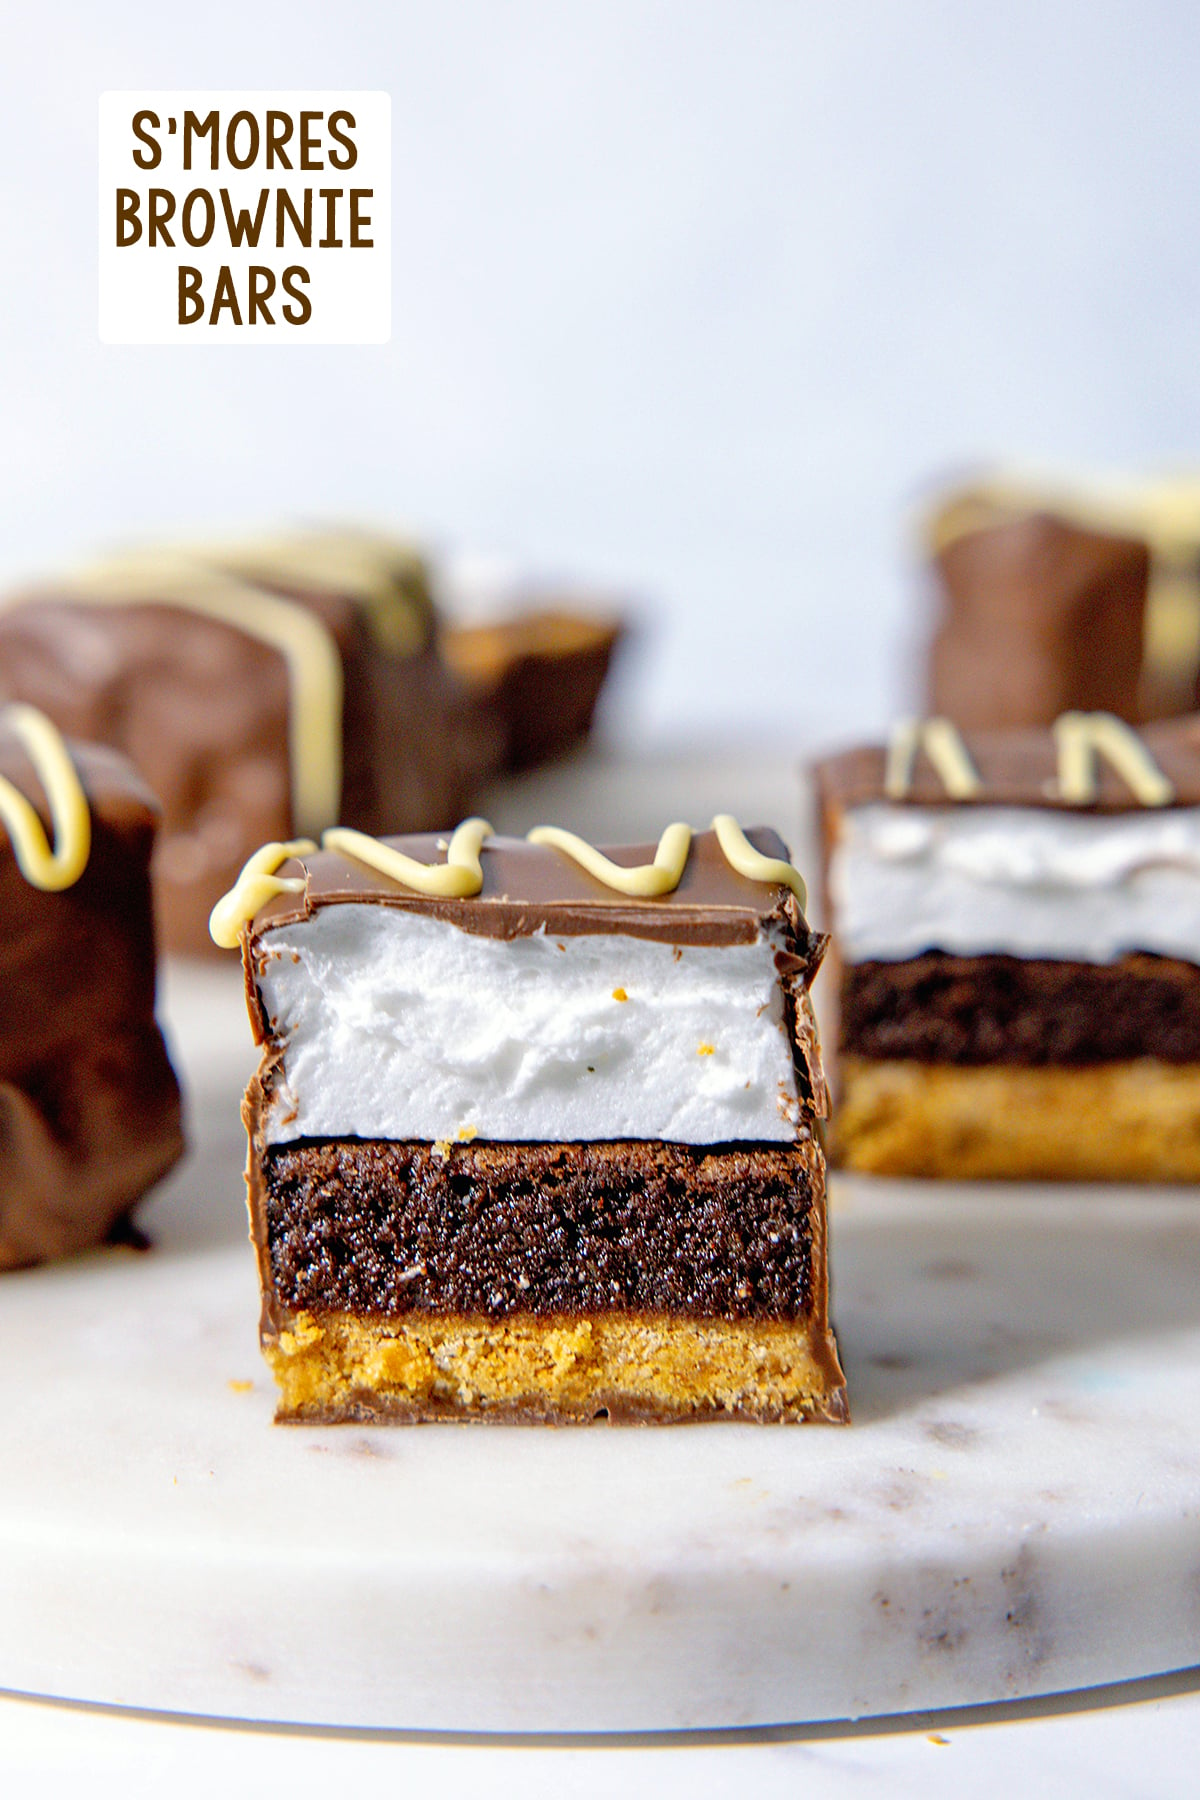
These S'mores Brownie Bars stack a graham cracker crust, a fudgy brownie, and a homemade marshmallow layer, then dip the whole thing in chocolate. It's a s'more you can eat year round, no campfire required!
Jump to:
It's my belief that we should be eating as many s'mores-related foods as possible in the summer. Even if we don't have access to a campfire. Earlier this year, I saw someone post a photo of a s'mores brownie bar they got from a bakery and I knew I had to recreate it.
It took me a lot of testing and tries to get this recipe exactly right, but I'm so thrilled with how these bars came out.
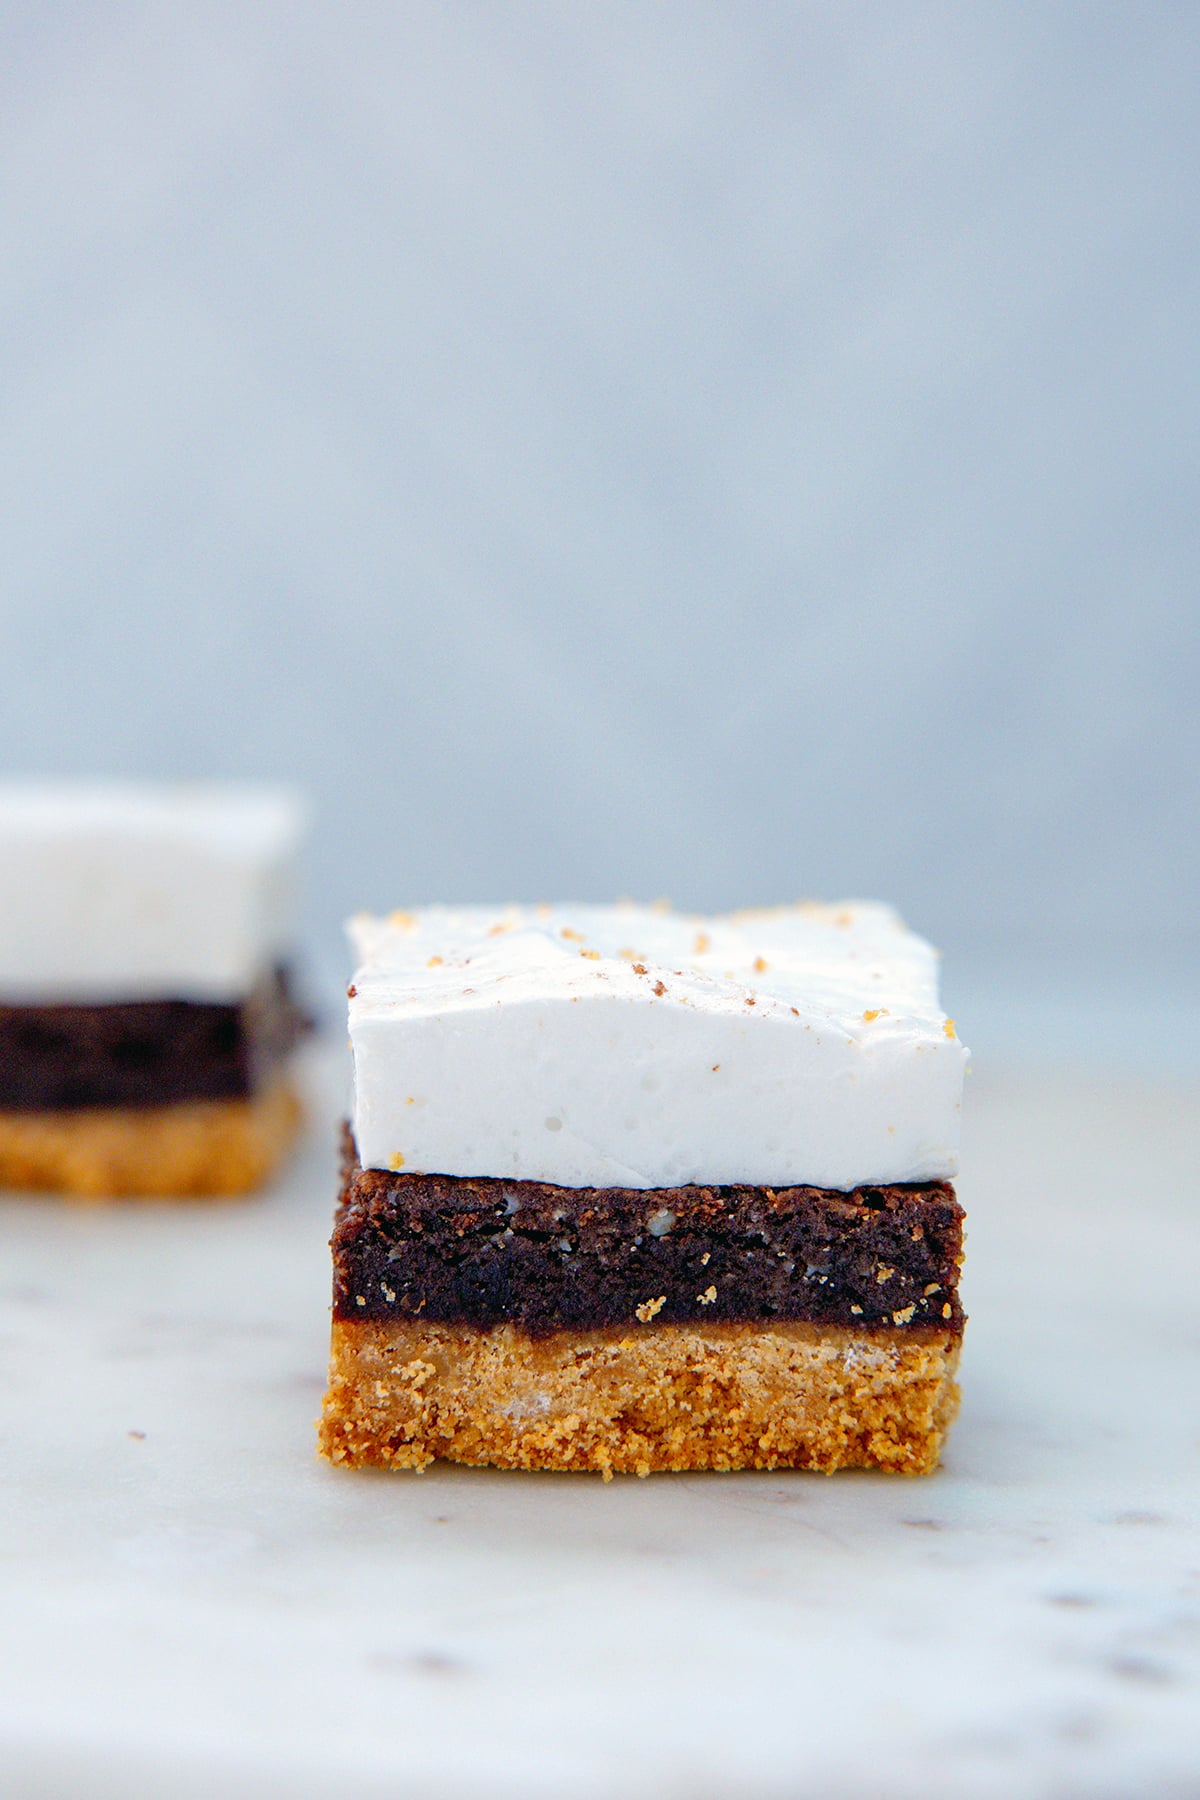
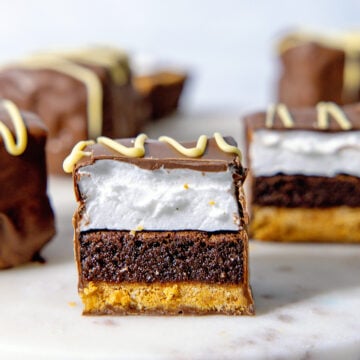
They involve a graham cracker crust bottom, a fudgy brownie middle, and a homemade marshmallow topping, all coated in chocolate.
I will be honest with you that this isn't the quickest dessert recipe in the world. There are four components and a candy thermometer involved.
But none of the steps are hard and you can spread the work over two days if that's easier. The homemade marshmallow topping is what takes these from "cute" to "people will ask you for the recipe," so please do not skip it for the jarred stuff. I promise it's worth it!
If you're looking for a drink pairing, the Starbucks S'mores Frappuccino, S'mores Cold Brew, and S'mores Chai all go fabulously!
❤️ Why this recipe works
Graham cracker crust is pre-baked: baking the crust on its own first keeps it crisp under the brownie layer instead of causing it to get soft.
The brownie layer is nice and fudgy: the brownie is baked until the center is still slightly underdone so it stays fudgy instead of cakey.
Homemade marshmallow is delicious and impressive: the marshmallow topping is whipped from gelatin and hot sugar syrup, so it's soft, fluffy, and sliceable in a way that marshmallow fluff is not. It's easy to do and will impress your friends and family.
Chocolate coating turns the bars into indulgent bites: dipping each bar in melted chocolate gives the bars a snappy shell and turns this from a fun bar into a full-on gourmet treat.
🗒 Ingredients
Here's everything you need for each component of these s'mores brownie bars (be sure to view the recipe card at the bottom of this post for ingredient amounts and full recipe instructions):
Graham Cracker Crust:
- Graham cracker crumbs: you'll need about 9 sheets of graham crackers, which equates to 18 squares.
- Granulated sugar
- Salt
- Unsalted butter: melted
Brownie Layer:
- Unsalted butter: melted and slightly cooled
- Granulated sugar
- Large eggs
- Vanilla extract
- Unsweetened cocoa powder
- All-purpose flour
- Salt
Marshmallow Layer:
- Unflavored powdered gelatin
- Cold water
- Granulated sugar
- Light corn syrup
- Water
- Salt
- Vanilla extract
Chocolate Coating:
- Milk chocolate, semisweet chocolate, or melting wafers
- Refined coconut oil: you can skip this if you're using melting wafers
- White chocolate: for optional drizzling
🍫 Recipe tips
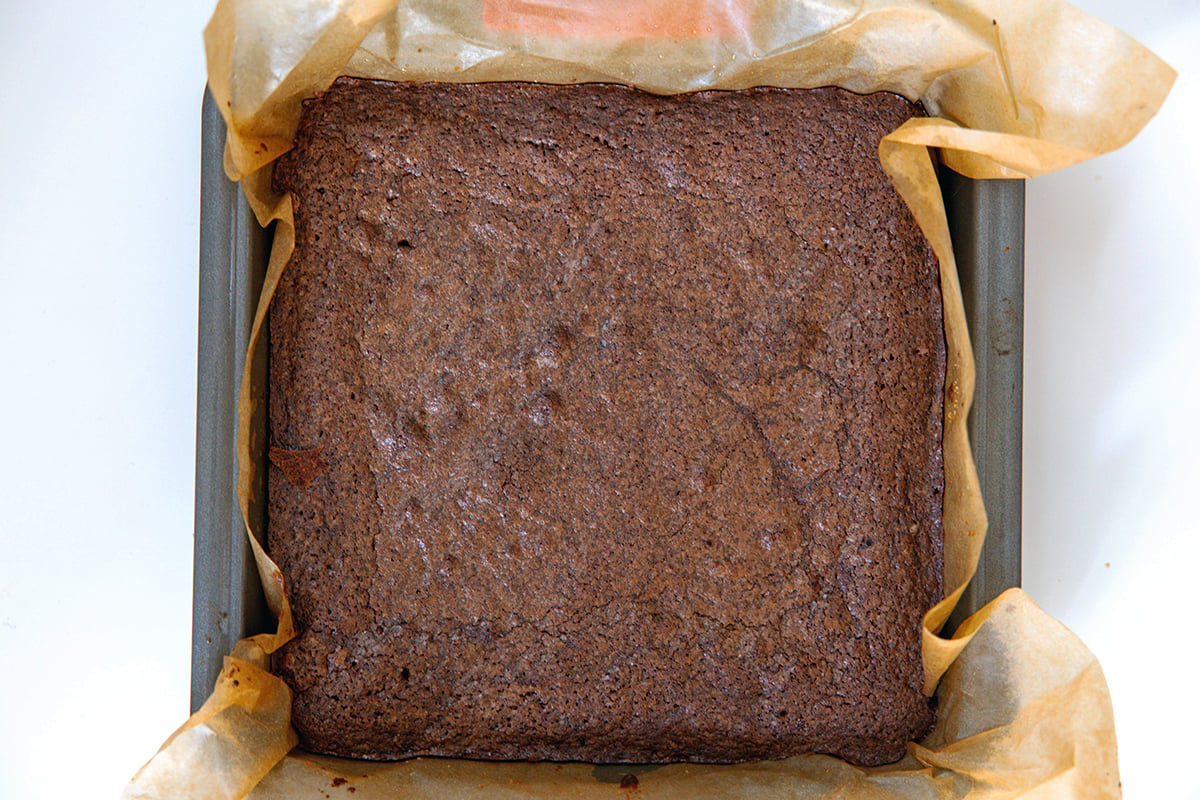
- Let the brownies cool all the way before topping with homemade marshmallow. It can definitely be tempting to rush, but a warm brownie will melt your marshmallow layer and make it soupy. Give it longer to cool than you think you need.
- Use a candy thermometer for the syrup when making the marshmallow. Getting the sugar syrup to 240 degrees F is the difference between marshmallow that sets and marshmallow that is sticky. A thermometer is really the only way you can ensure you get to the right stage.
- Pour the hot syrup slowly into the gelatin. With the mixer on low, stream the syrup down the side of the bowl, not directly onto the whisk, or you'll fling molten sugar everywhere.
- When slicing the bars, wipe your knife clean and re-grease it between cuts. It feels a little fussy, but the marshmallow will likely stick and the bars will be messy if you don't do this.
📧 Email Me This Recipe
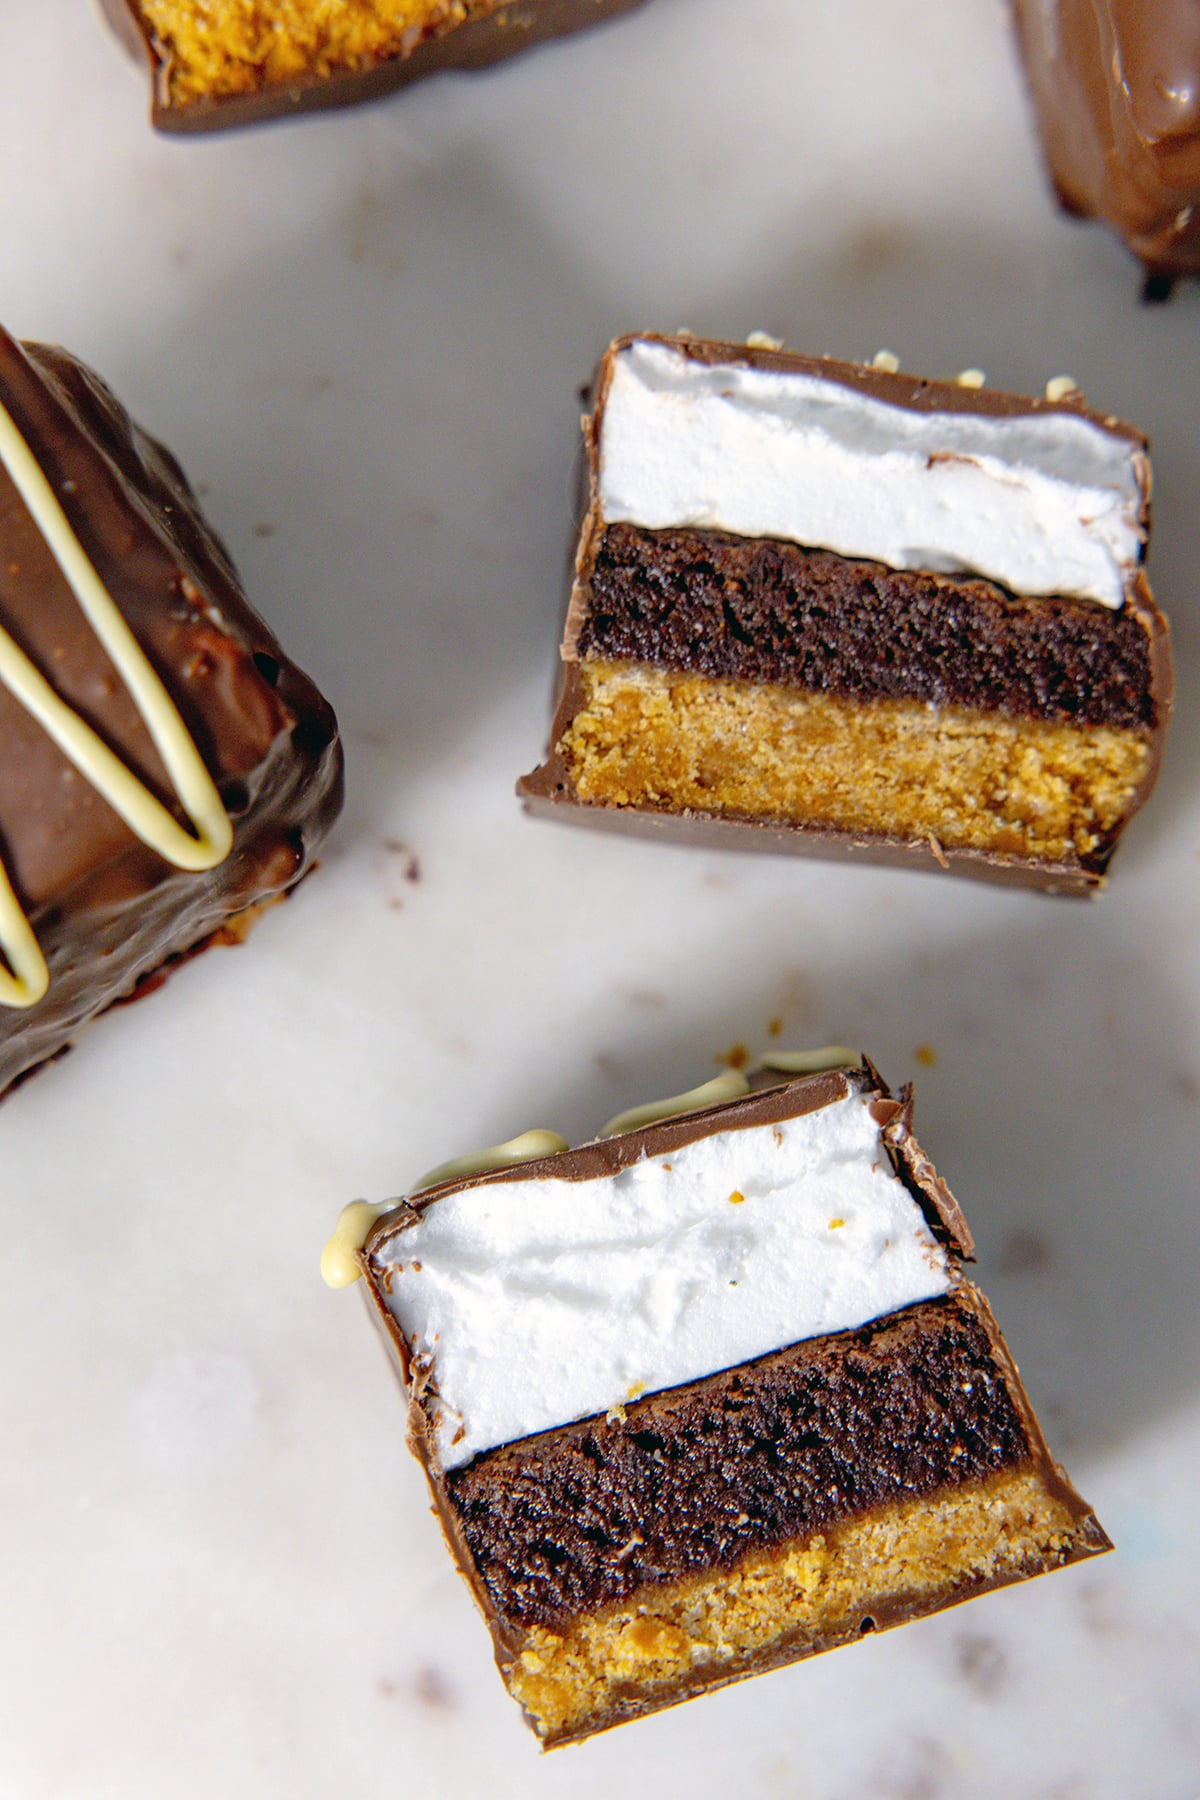
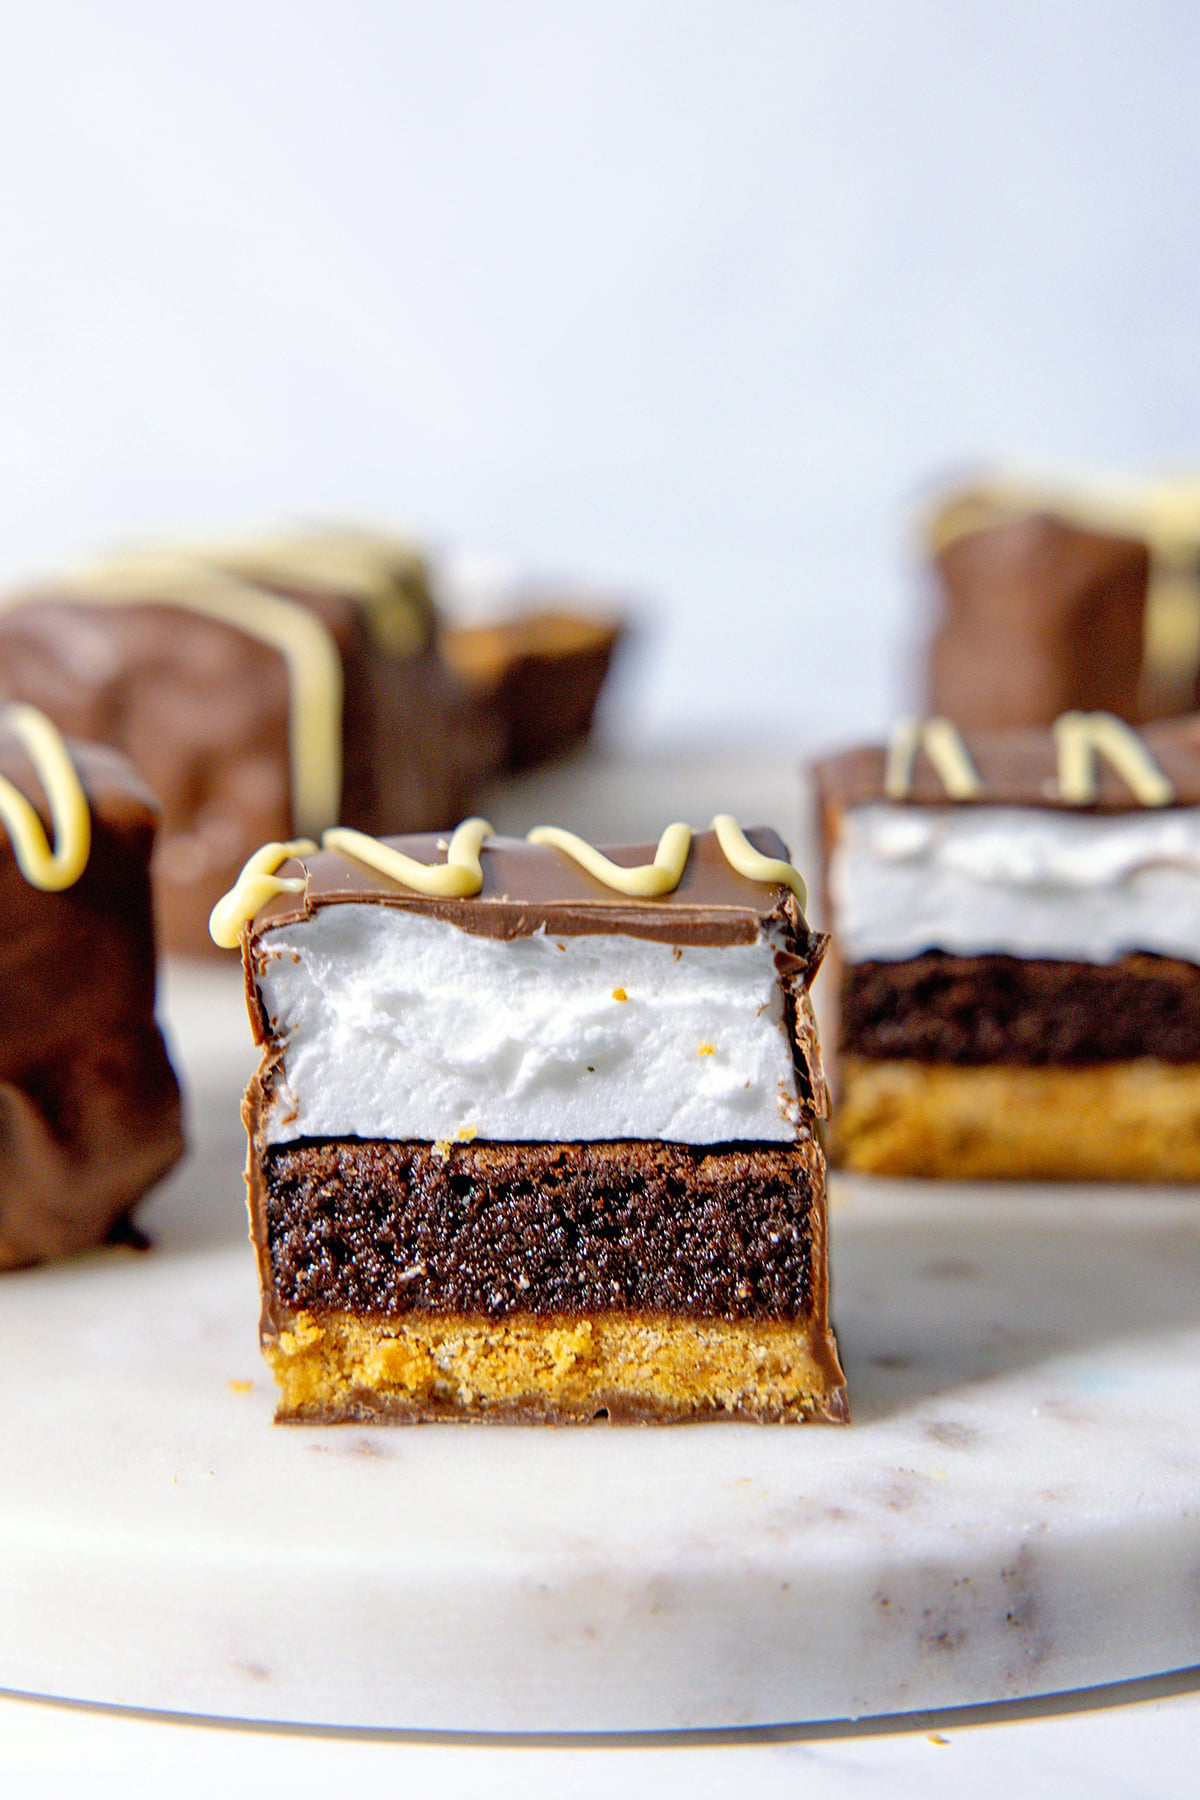
See how fun the layers are??
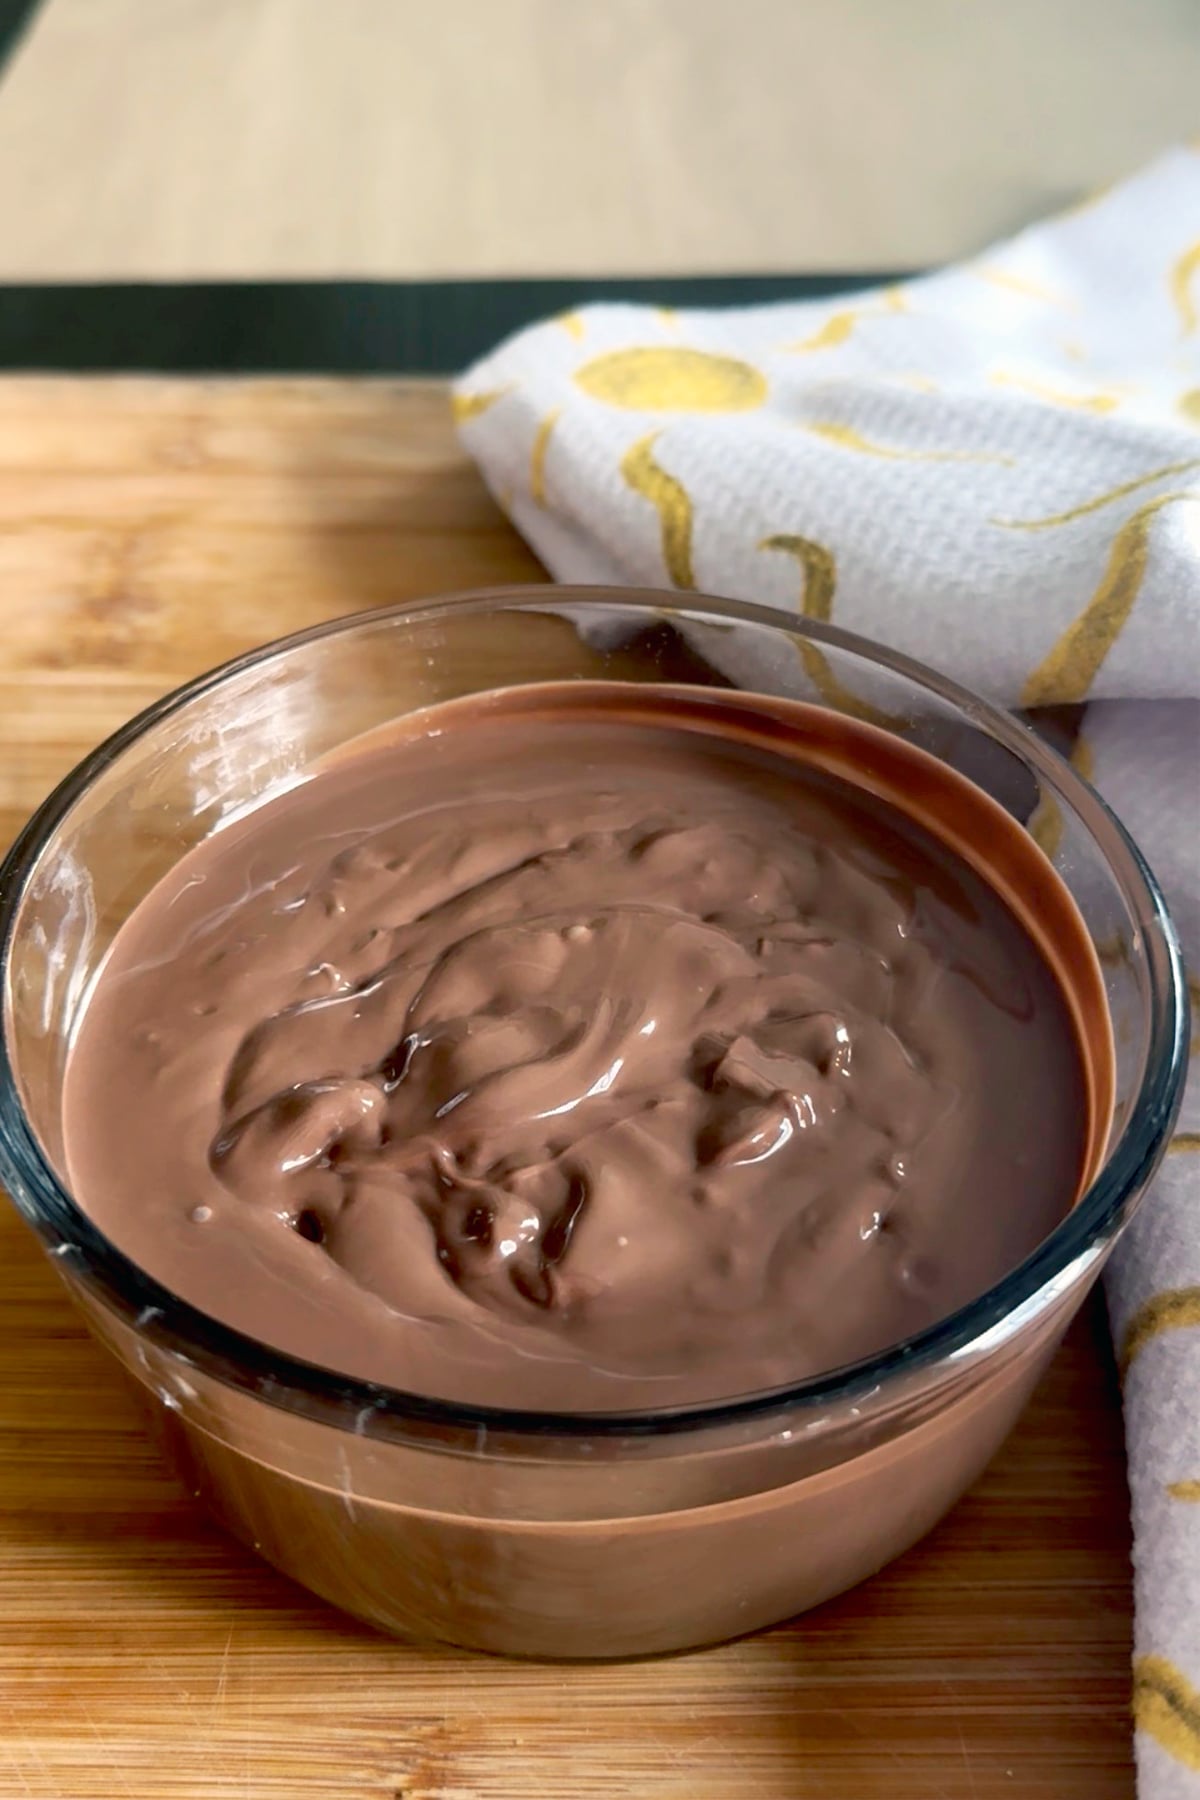
You can obviously leave the bars like this if you want, but I think the chocolate coating really pulls them together and turns them into a decadent treat!
- Chill the bars before coating them. Cold bars will be firm and much easier to dip without the marshmallow squishing.
- You can either use chopped chocolate bars or chocolate wafers for dipping. I don't recommend chocolate chips since they don't melt as well and often set dull. If you're not using chocolate wafers, you'll want to add a little coconut oil to the chocolate to help thin it out.
- I like melting my chocolate in a double boiler, but you're also welcome to use the microwave. I recommend doing so in 30-second intervals at 50% power and stirring in between each interval.
- I recommend setting up an assembly line before you start dipping the bars. Lay out parchment paper, your fork, and all the chilled bars before the chocolate is melted. Once you start dipping you want to move quickly, because the bars warm up fast and the chocolate firms up as it cools.
- After the chocolate coating hardens, I like to drizzle a little melted white chocolate over the top of the bars. This is optional, but I think it completes the look.
The first time I made these s'mores brownie bars, the marshmallow layer was way too tall, so I scaled it back to make the layers more equal, with the graham cracker crust just a little bit thinner.
I'm so thrilled with how these bars came out. They're truly the perfect summer treat and ideal for any s'more lover who's looking for something a little bit different.
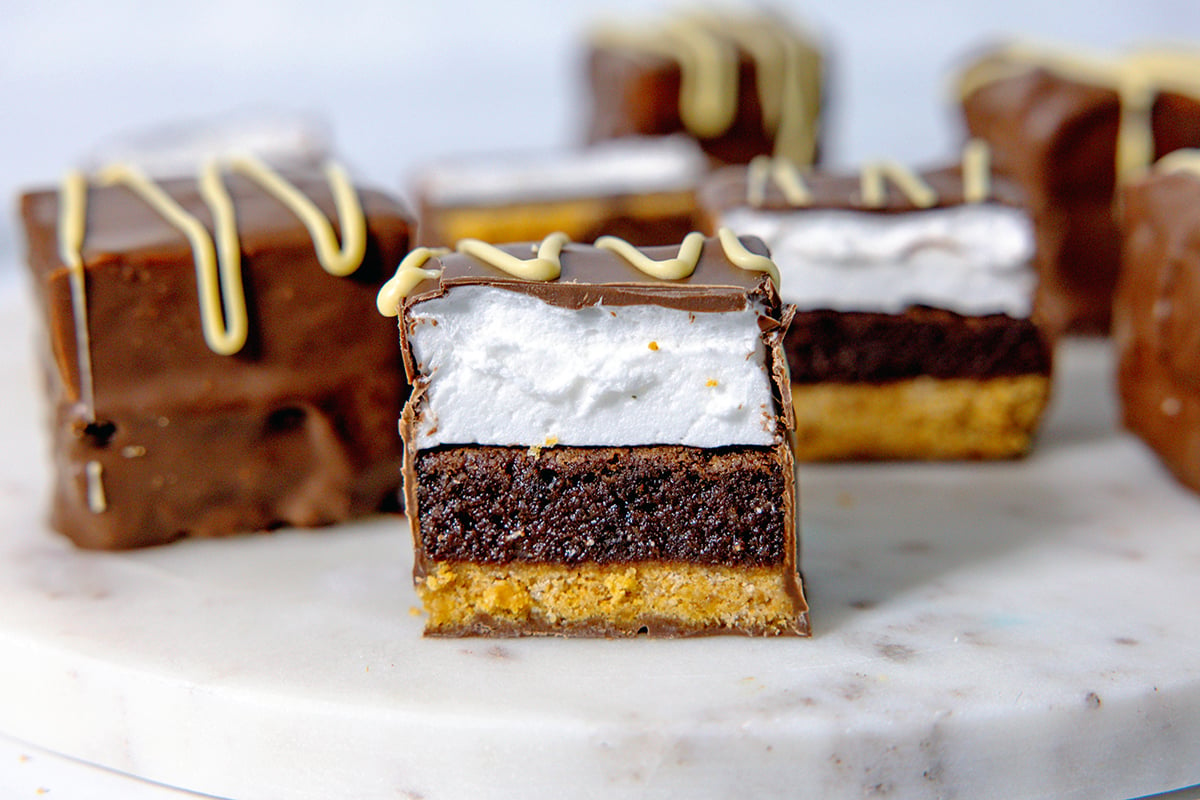
I like cutting them open to show the layers, but you can also just bite right into one!
⏲️ How to store
You can store the s'mores bars in an airtight container at cool room temperature for up to 3 days or in the fridge for up to 5 days.
If you refrigerate them, let them sit out for 10 to 15 minutes before serving so the brownie and marshmallow soften back up.
I wouldn't freeze these bars, since the marshmallow layer can get weepy and grainy once thawed. They really are best within a few days of making them, which has not been a problem in my house!
🎉 Variations on recipe
I believe these s'mores brownie bars are absolute perfection as is, but if you want to add a twist to them, here are some ideas:
- Torch the tops: before coating the bars, use a kitchen torch on the marshmallow layer for a classic toasted marshmallow look and flavor. Let the marshmallow cool before dipping.
- Coat the bars in dark chocolate: swap the milk chocolate for dark chocolate coating if you like a less sweet bar. It's a nice contrast to the sugary marshmallow.
- Turn them into peanut butter s'mores bars: spread a thin layer of peanut butter on the cooled brownie before adding the marshmallow, perfect for PB lovers.
- Add salt: a tiny pinch of flaky sea salt on the wet chocolate coating makes the bars taste more grown up.
☁️ More s'mores recipes
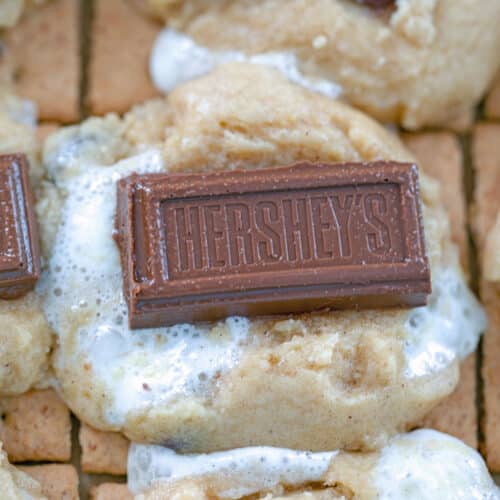
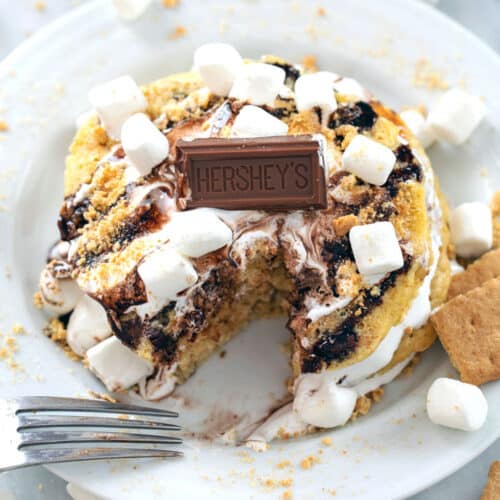
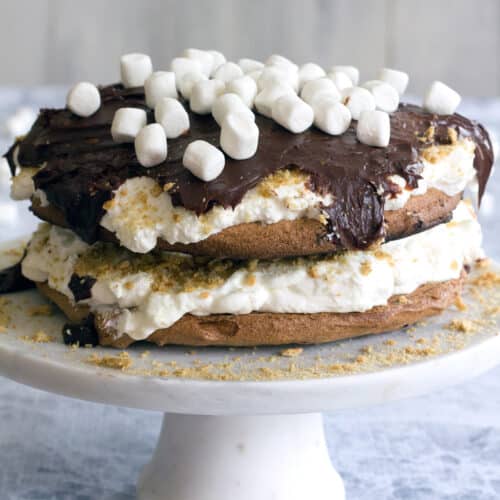
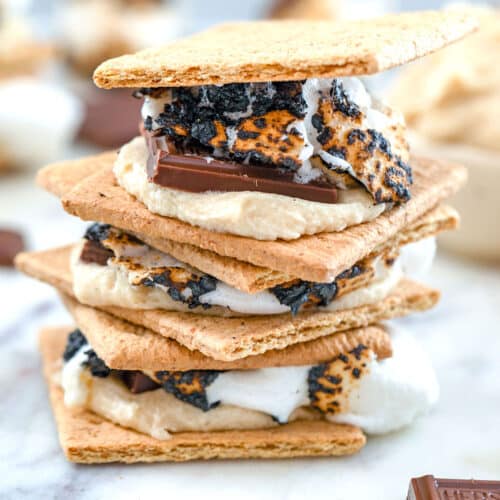
If you know me, you know I'm a HUGE fan of s'mores-related desserts and am constantly experimenting with new recipes. Here are some of the best s'mores recipes that I've made:
🙋♀️ FAQ
These S'mores Brownie Bars are proof that you don't need a campfire, or even summer, to enjoy a s'more.
Yes, they take a little effort, but they're the kind of treat that your friends and family will go crazy for. Kids will think they're so cool and adults won't be able to resist either.
Make them for a summer party or just a random Tuesday when you deserve something special.
In fact, make these in the dead of winter when you're craving a little summer in your life.
📖 Recipe
Ingredients
Graham Cracker Crust
- 1 ¾ cups graham cracker crumbs (about 9 sheets/18 squares)
- 2 tablespoon granulated sugar
- Pinch salt
- 6 tablespoon unsalted butter melted
Brownie Layer
- 10 tablespoon unsalted butter melted and slightly cooled
- 1 cup granulated sugar
- 2 large eggs plus 1 egg yolk
- 1 teaspoon vanilla extract
- ⅓ cup unsweetened cocoa powder
- 6 tablespoon all-purpose flour
- ¼ teaspoon salt
Marshmallow Layer
- 1 tablespoon unflavored powdered gelatin (about 10g)
- 6 tablespoon cold water
- ¾ cup granulated sugar
- ¼ cup light corn syrup
- 3 tablespoon water
- ¼ teaspoon salt
- ¾ teaspoon vanilla extract
Chocolate Coating
- 12 -16 oz milk chocolate semisweet chocolate or melting wafers
- 1 -2 tablespoon refined coconut oil (skip if using melting wafers)
- 2-3 oz white chocolate for drizzling (optional)
Instructions
Graham Cracker Crust
- Preheat oven to 350 degrees F. Line an 8-inch square pan with parchment paper, leaving overhang on two sides. Lightly grease the parchment and pan sides.
- Stir together graham cracker crumbs, sugar, salt, and melted butter until evenly moistened.
- Press firmly and evenly into the bottom of the pan, compacting it (a flat-bottomed measuring cup works well).
- Bake for 9-10 minutes, until edges look a shade darker and the crust looks dry. Let cool for 15-20 minutes, until just barely warm to the touch, before adding brownie batter.
Brownie Layer
- In a large bowl, whisk together melted butter and sugar. Add eggs, egg yolk, and vanilla and whisk until smooth and slightly thickened.
- Add cocoa powder, flour, and salt and fold together just until no dry streaks remain, taking care not to over-mix.
- Spread the batter carefully over the cooled crust and bake for 18-22 minutes, until edges are set but the center still looks slightly underdone. A tester should come out with wet batter clinging to it, not just moist crumbs.
- Cool completely on a wire rack before topping with the marshmallow layer. This brownie is more delicate than a fully baked one, so let it cool longer than you think you need to.
Marshmallow Layer
- Place gelatin and cold water in the bowl of a stand mixer fitted with the whisk attachment. Stir briefly and let bloom for 5-10 minutes.
- In a small saucepan, combine sugar, corn syrup, water, and salt. Cook over medium heat, stirring gently only until sugar dissolves.
- Once boiling, stop stirring. Cook until the syrup reaches 240 degrees F on a candy thermometer.
- With the mixer on low, carefully pour hot syrup into the bloomed gelatin in a slow, steady stream down the side of the bowl.
- Increase mixer speed to high and whip for 6-7 minutes, until mixture is thick, glossy, and increased in volume. Add vanilla and whip for another 15 to 20 seconds.
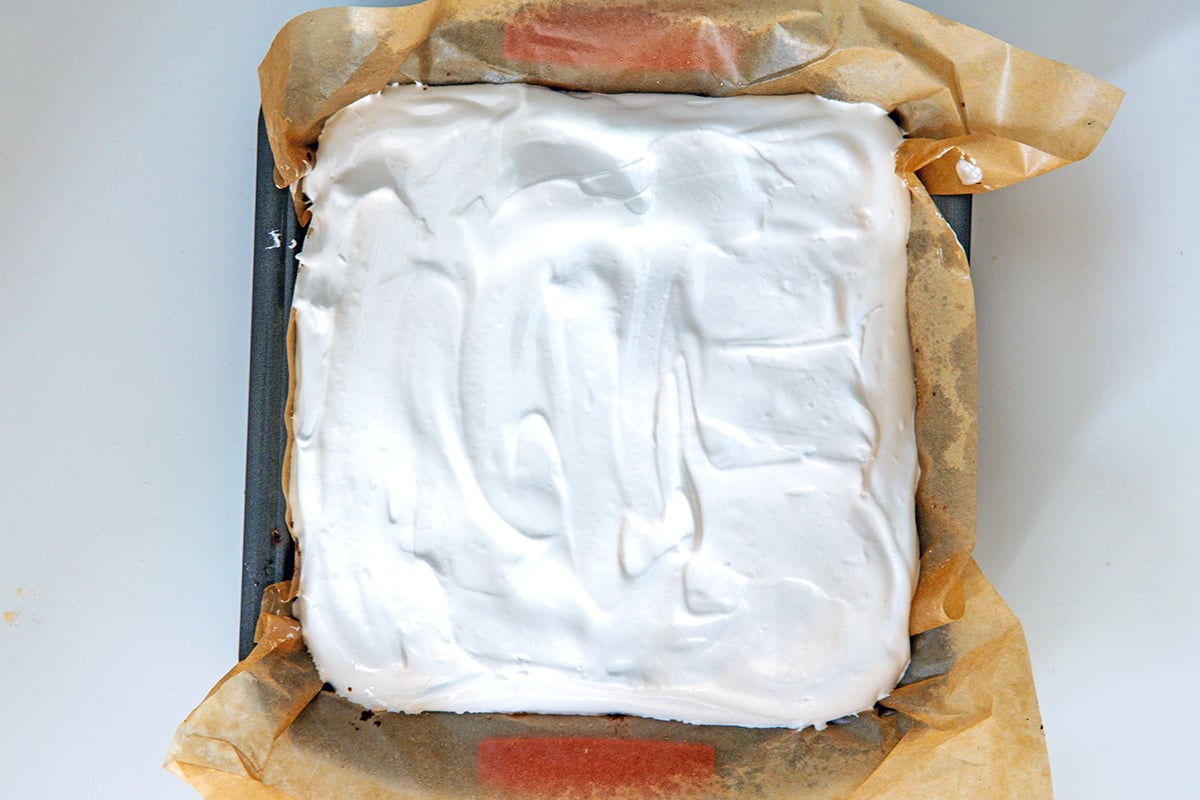
- Pour/scrape the marshmallow over the cooled brownie layer and smooth into an even layer with a lightly greased offset spatula.
- Let the pan sit uncovered at room temperature for at least 4-6 hours or refrigerate uncovered (or very loosely tented) overnight. This will give the marshmallow layer time to set.
Slicing Bars
- If refrigerated, let the pan sit out for 15-20 minutes to take the chill off slightly before cutting.
- Lift the bars from the pan using the parchment overhang and using a large sharp knife lightly coated with nonstick spray, cut into 12 rectangular bars or 16 squares, wiping and re-greasing the knife between cuts.
- Refrigerate the cut bars for 20-30 minutes to firm the marshmallow again before coating.
Chocolate Coating
- Add chopped chocolate or wafers to a double boiler (or in a heat-proof bowl set over a saucepan with water) and bring water in the bottom of boiler to a boil. If using chopped chocolate, add coconut oil, too (not necessary if using wafers). Stir the chocolate with a wooden spoon until it's evenly melted and smooth (see notes for info on microwaving chocolate).
- Working with one chilled bar at a time, lower it into the melted chocolate and turn to coat all sides. Lift out with a fork, letting excess chocolate drip off. Set bar on parchment. Repeat with remaining bars.
- Let the chocolate coating set completely at cool room temperature.
- Melt the white chocolate (or white melting wafers) in a bowl in short microwave intervals, stirring in between each. Transfer to a small piping bag or Ziplock bag, snip a tiny corner, and drizzle white chocolate over the bars. Let set before serving.
Notes
- Microwaving chocolate: you can melt your chopped chocolate or wafers in the microwave, in short intervals. Put the chopped chocolate in a microwave-safe bowl and microwave it on 50% power for 30-second intervals, stirring in between, until chocolate is fully melted.


Comments
No Comments